
POS Category Mapping
You can use the Category Mapping Automation to assign categories from The Edge POS to the categories on your website.
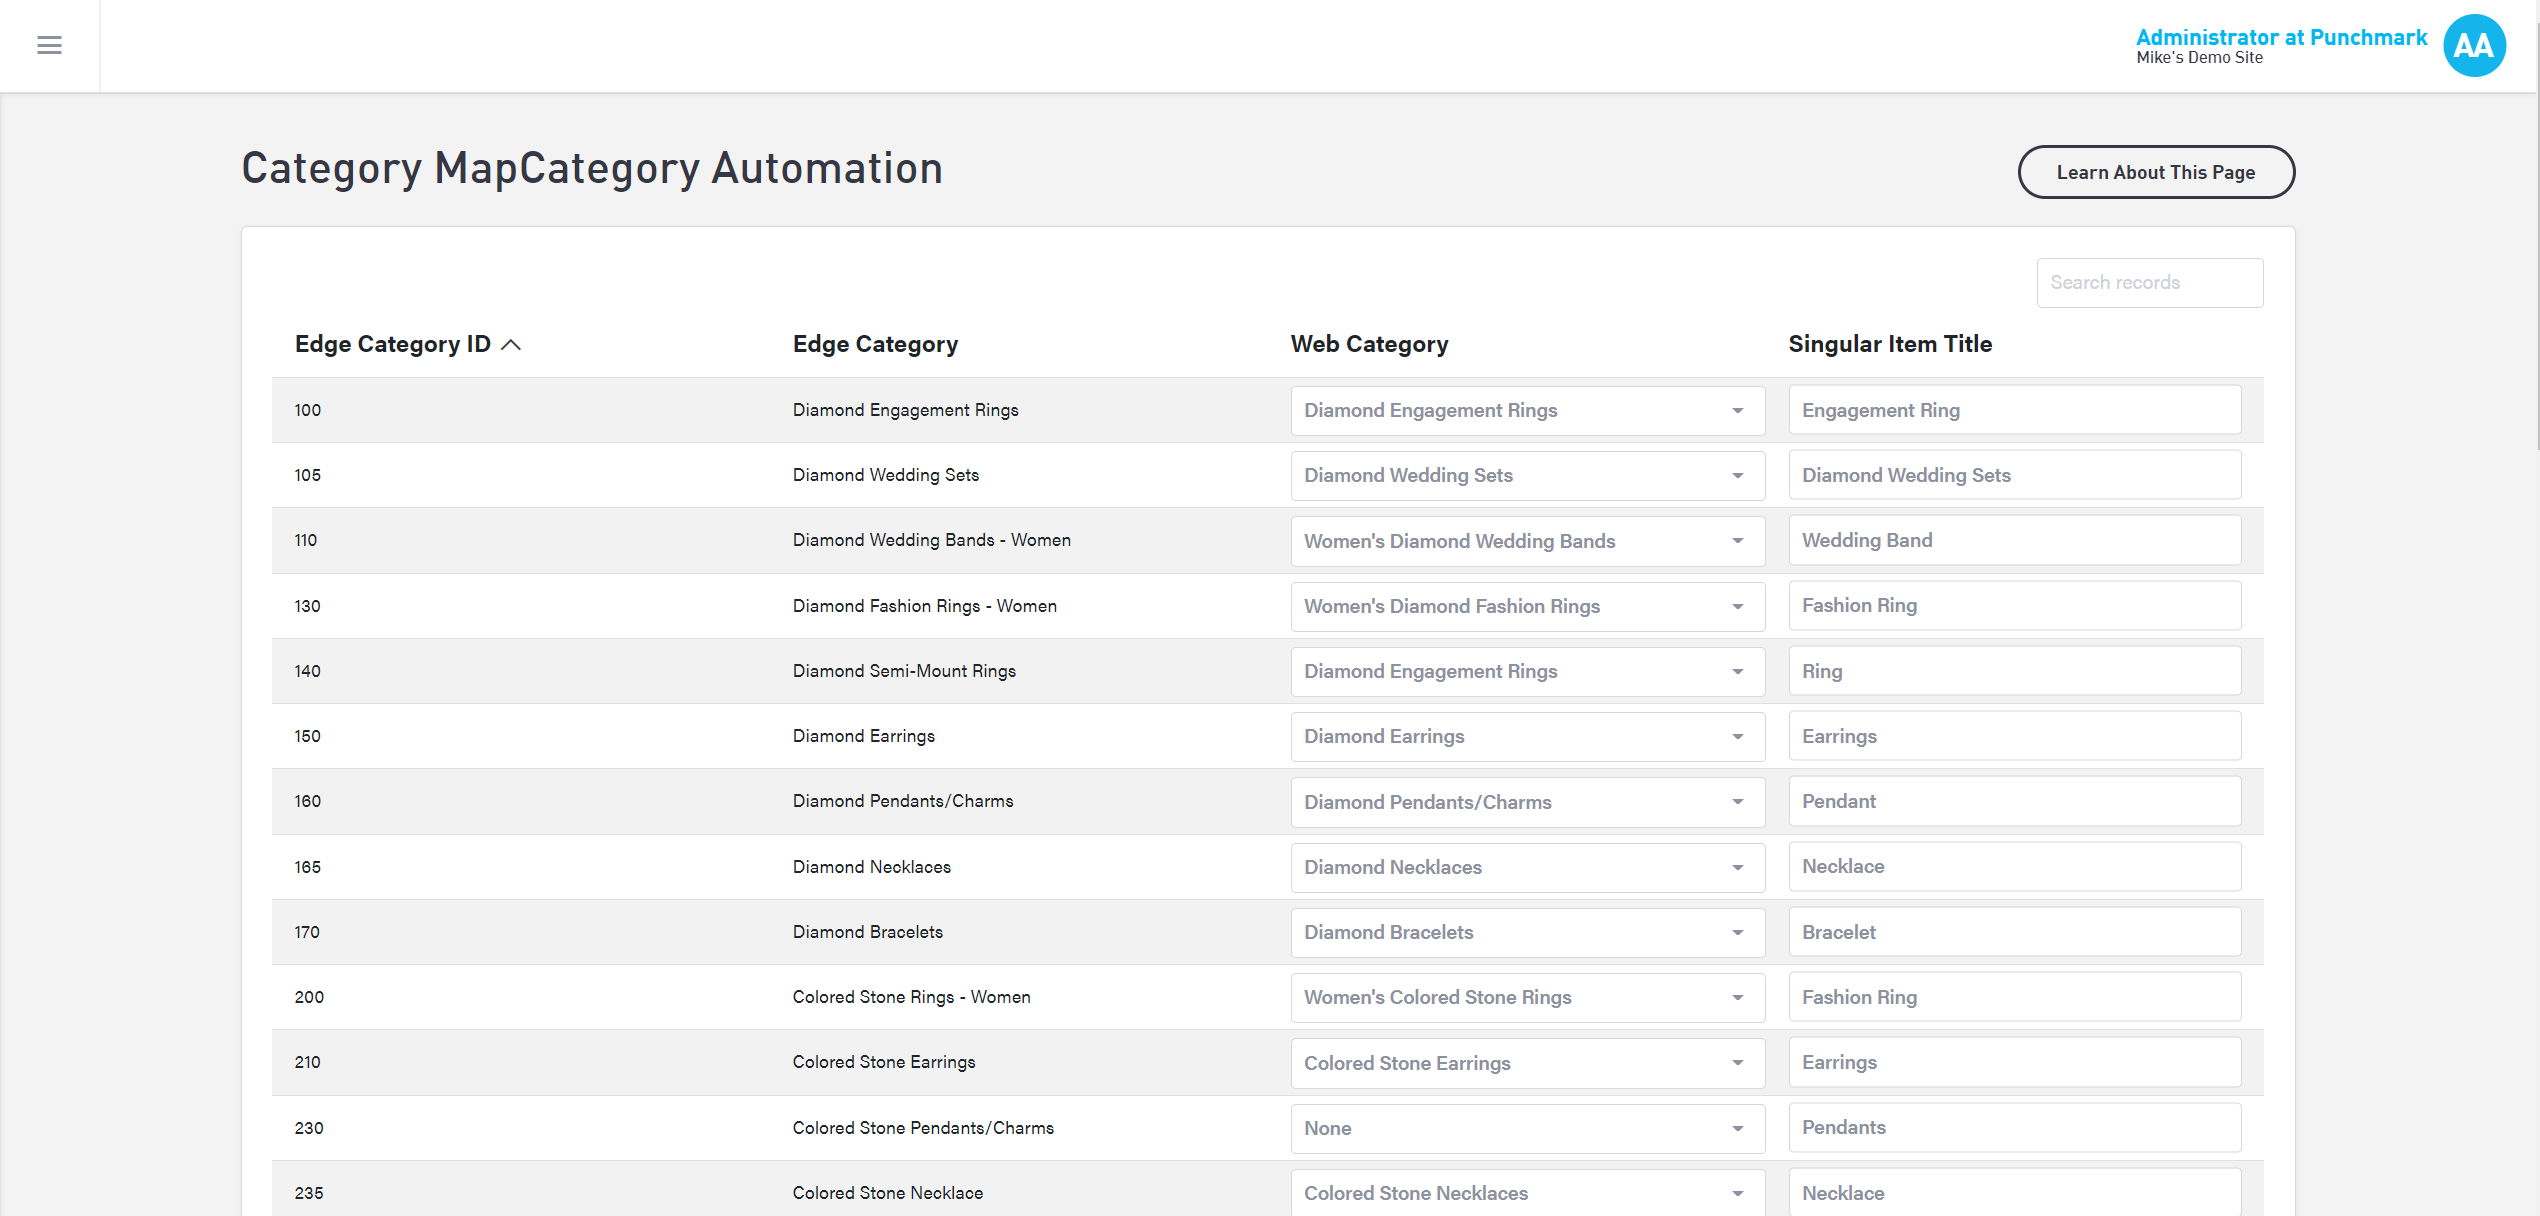
Web Categories
Once you import your data from The Edge, you will be able to see the Edge Categories populated in the Category Mapping section. For each Edge Category, use the dropdown menu under Web Category to choose which category of your website the Edge category should map to. Enter a Singular Item Title to specify what one of those items should be called (i.e. within the category “Diamond Engagement Rings” you may choose to call an individual item “engagement ring” or “diamond engagement ring” or simply “ring” depending on your preferences).
Once you are satisfied with your category mapping, select “Save” at the bottom of the category map to keep your changes.
Automating your Category Map
After you have created your category mapping between The Edge and your website (above), you will need to apply the mapping. You have 4 options:

Automate Categories: Once you have saved the category mapping above, select this button to apply the mapping.
Rewrite Item Titles: If you update an item title, select this option to update the item titles without redoing the entire category mapping.
Recreate Categories: If you update a category mapping, select this option to update the category mapping(s) changed.
Create Smart Categories: Smart Categories are usually only used before your website has any categories. It automatically creates categories for your website based on what exists in your Edge account. Proceed with caution and consult a Punchmark team member if using this option, as it could result in wiping your current categories.