
Getting Started With Stripe for your Punchmark Website
Know Before You Start
Stripe is a powerful payment gateway that provides us some of the tools that will make your site the most streamlined for customer checkout experience.
Accepting payments these days comes with a lot of compliance regulation, so you will need a few things handy:
Your Tax ID Number (EIN)
Your Partners' Information (if they own more than 25% of your business)
A photo of a Valid ID, such as a driver's license, ready for upload
Your company tax classification (LLC, etc) and any DBA info about your business.
Begin the Process in SiteManager > Settings > E-commerce Settings
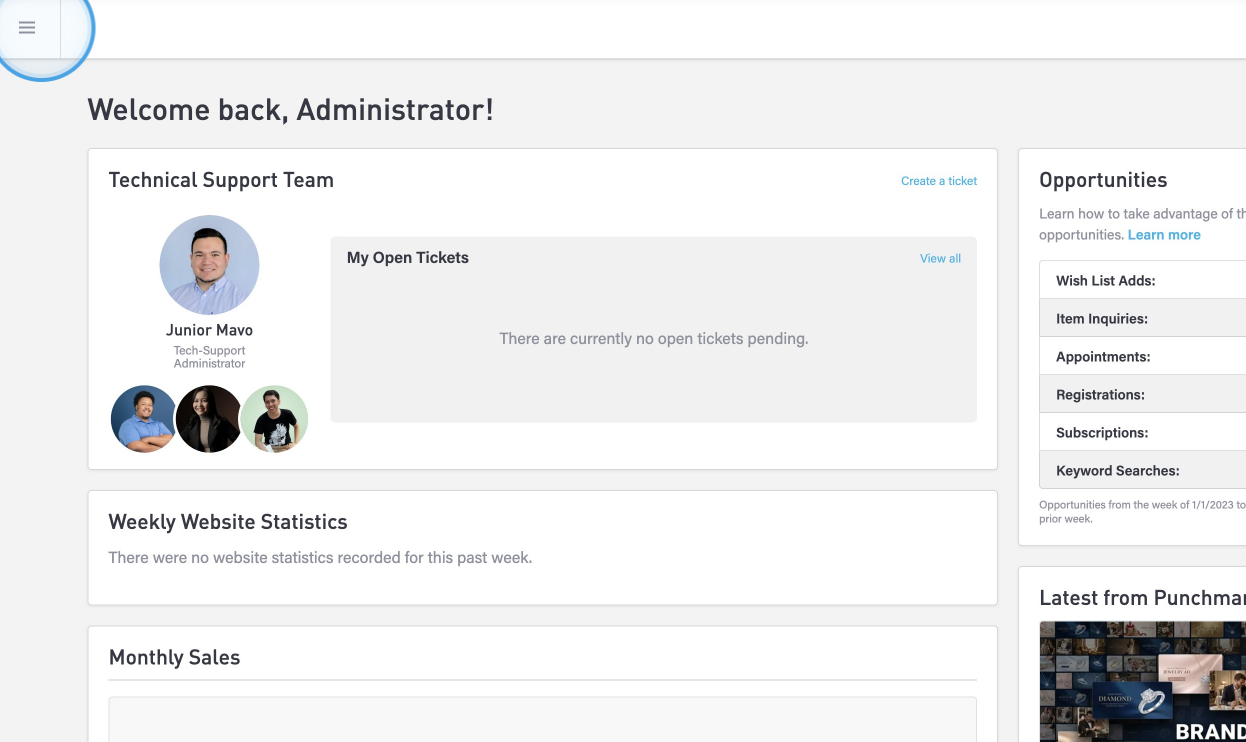
Log in to SiteManager and click on the three horizontal bars, known as the “hamburger menu” in the top-left corner.
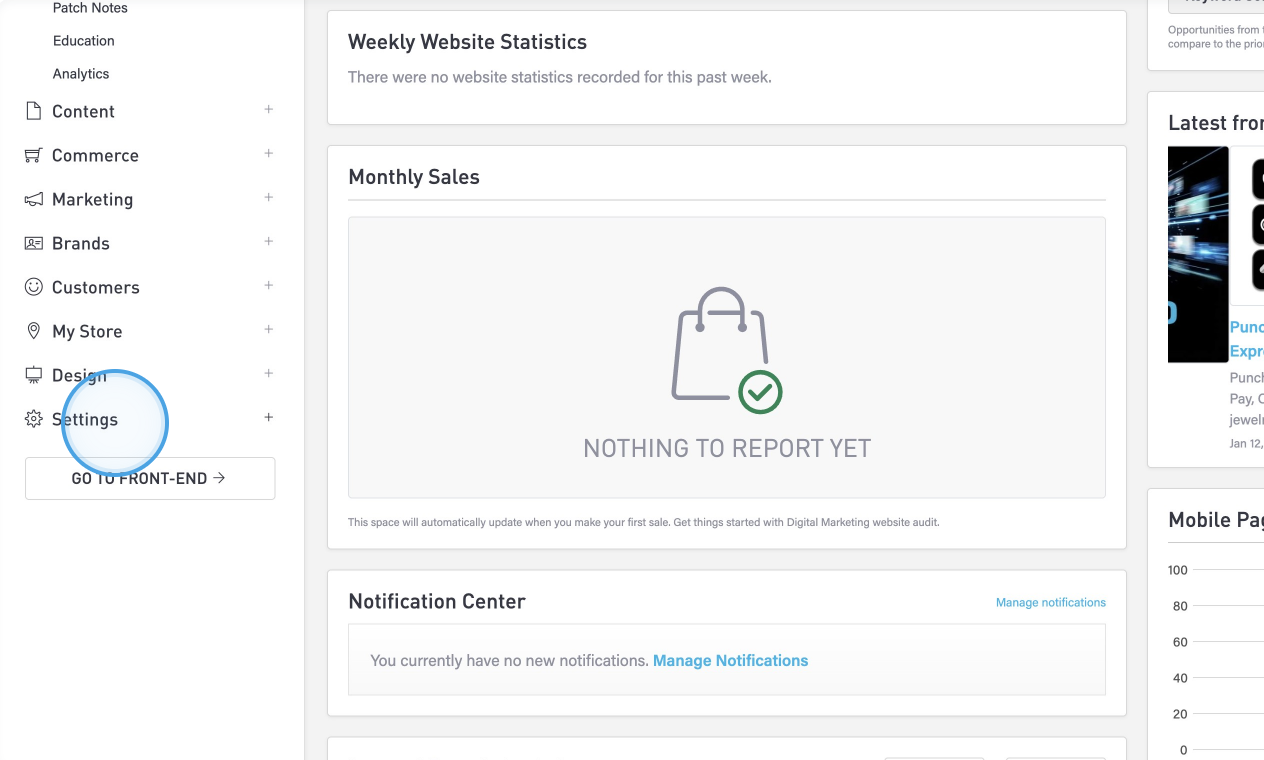
Click on Settings at the bottom of the Site Manager panel.
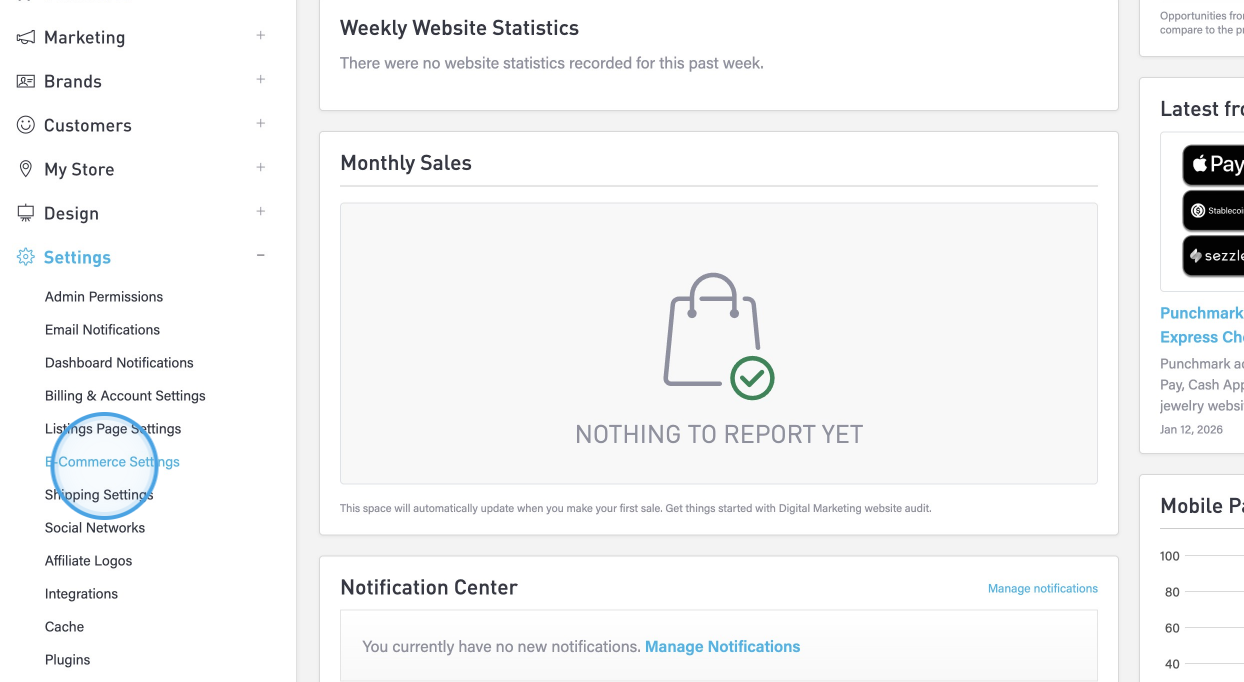
Click on E-Commerce Settings.
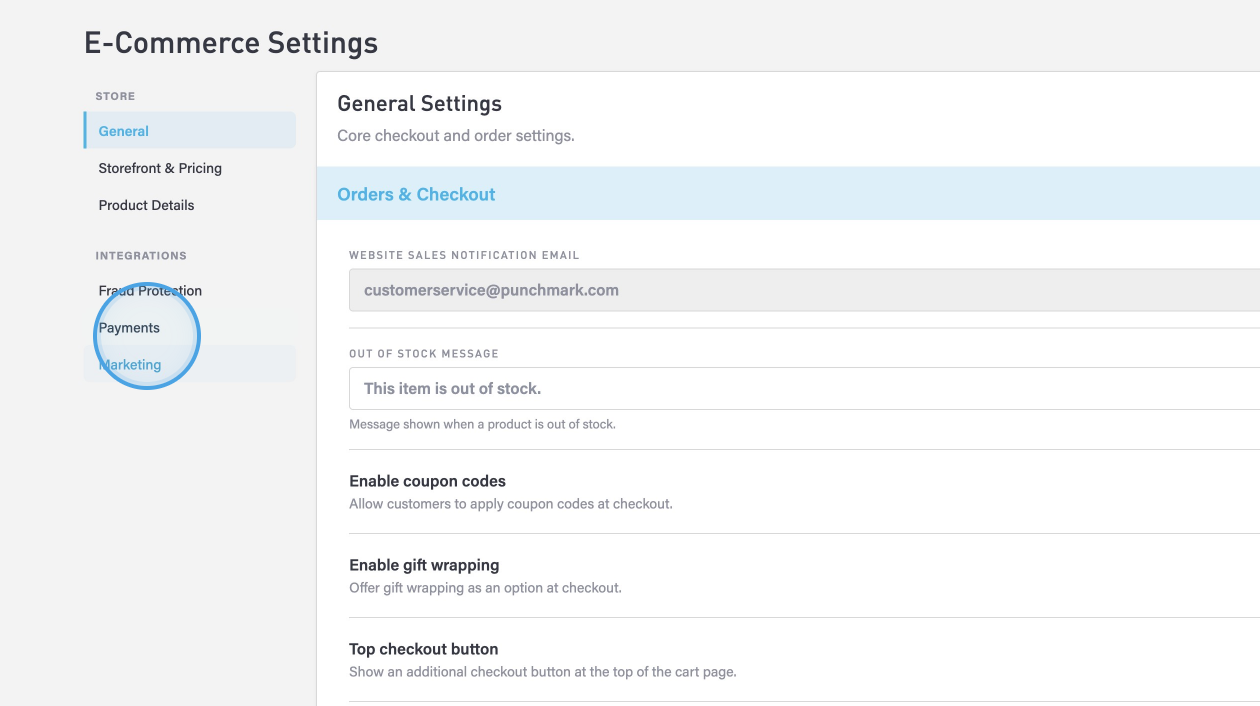
Click on Payments.
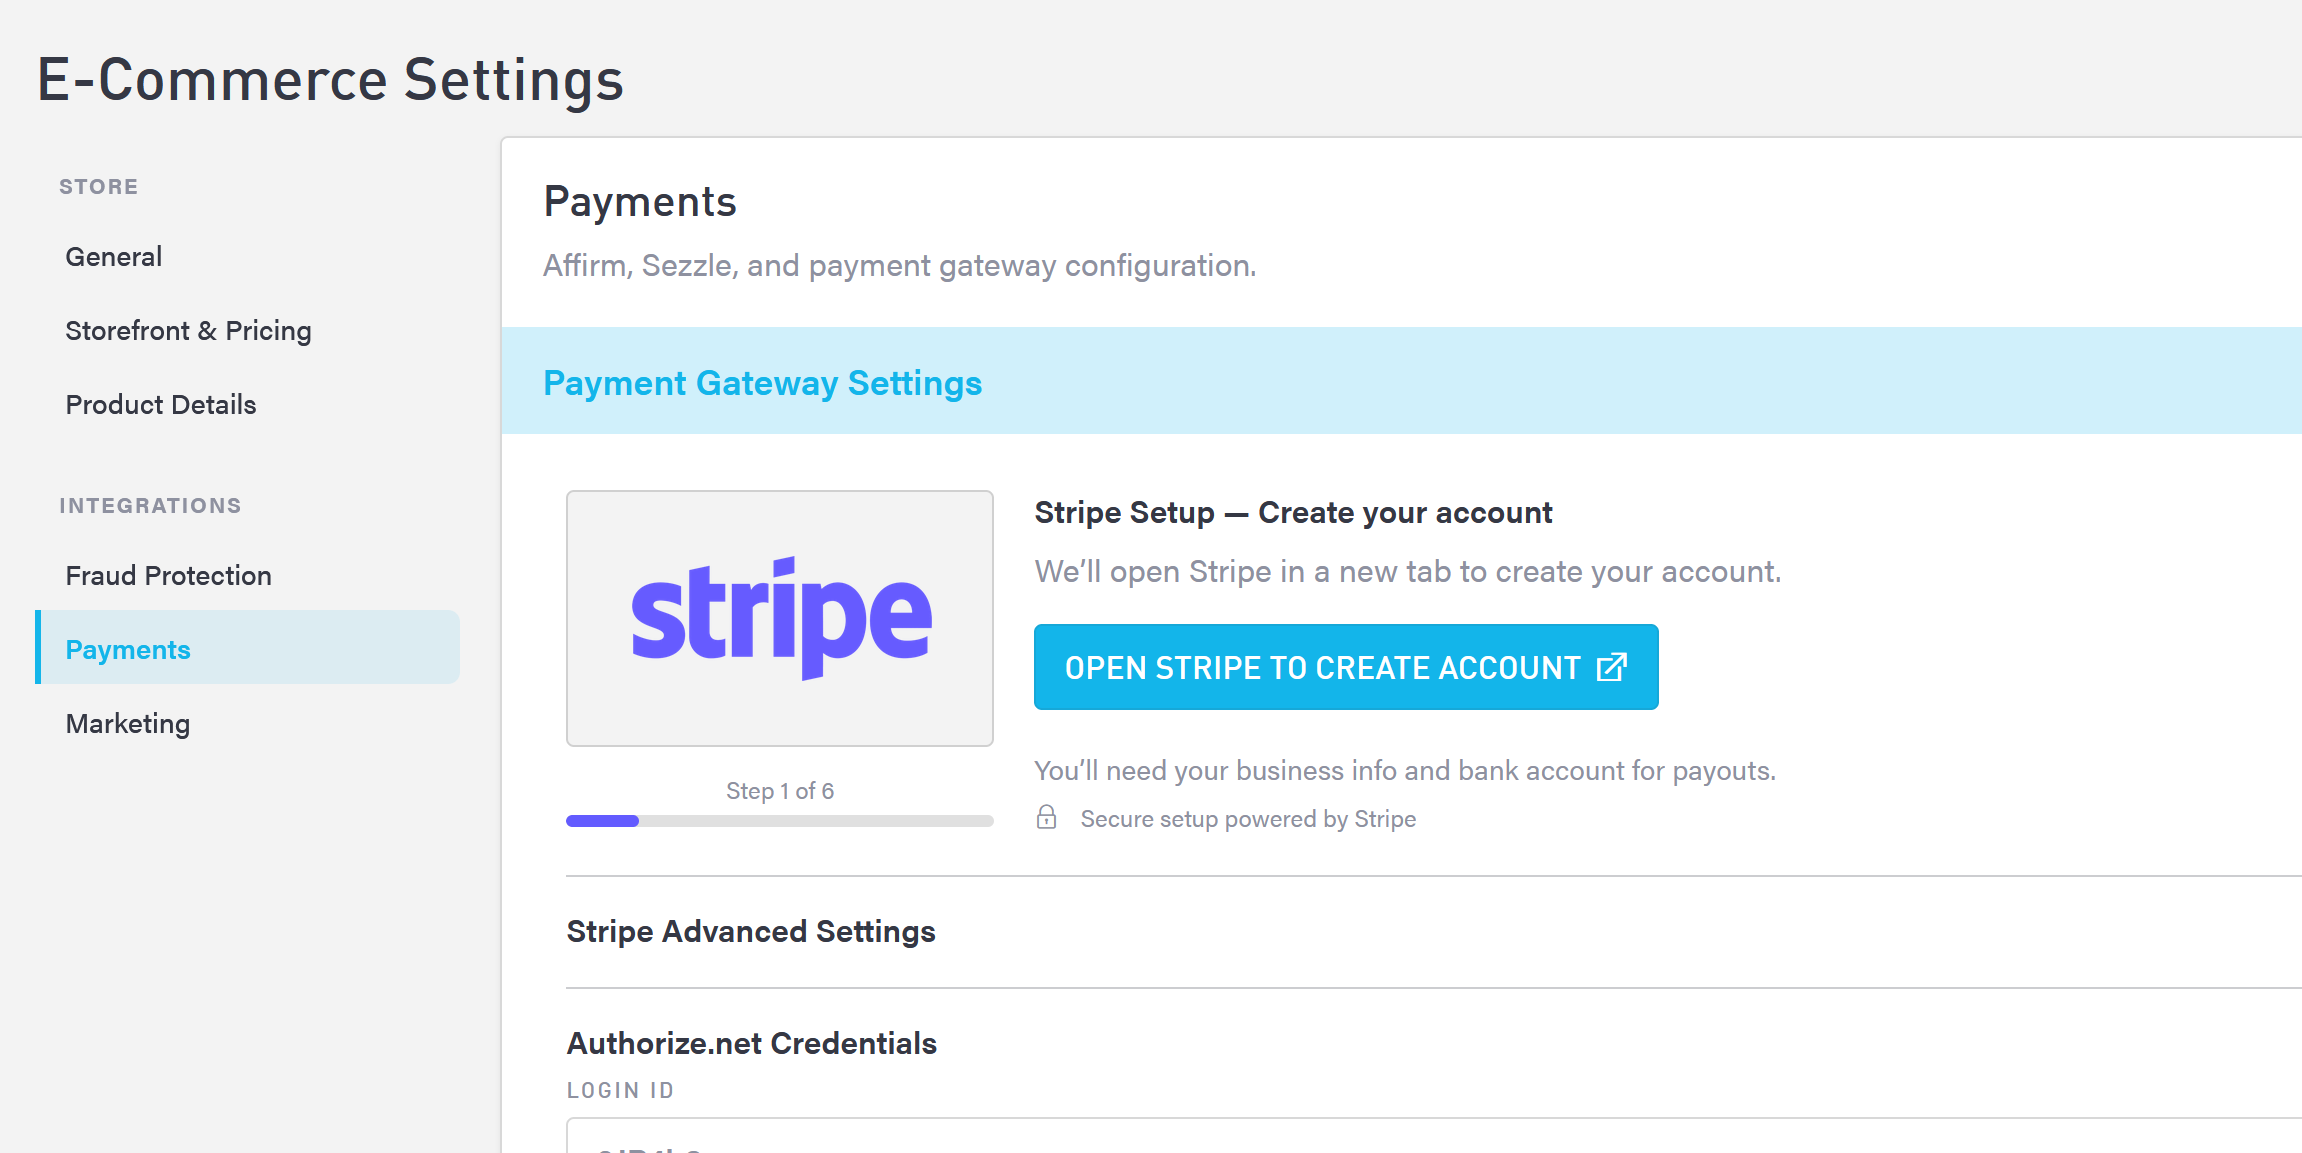
Click on Activate Stripe.
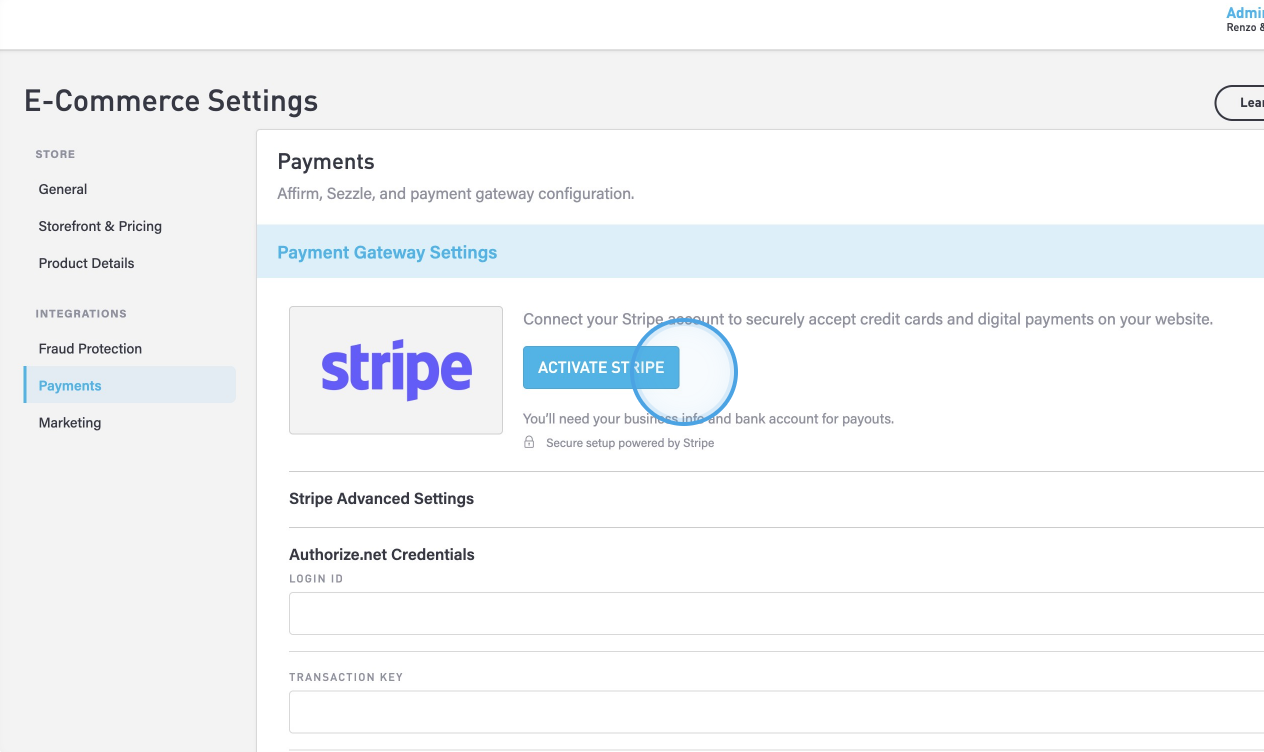
Follow the instructions to launch the Stripe onboarding flow.
Setup Your Email
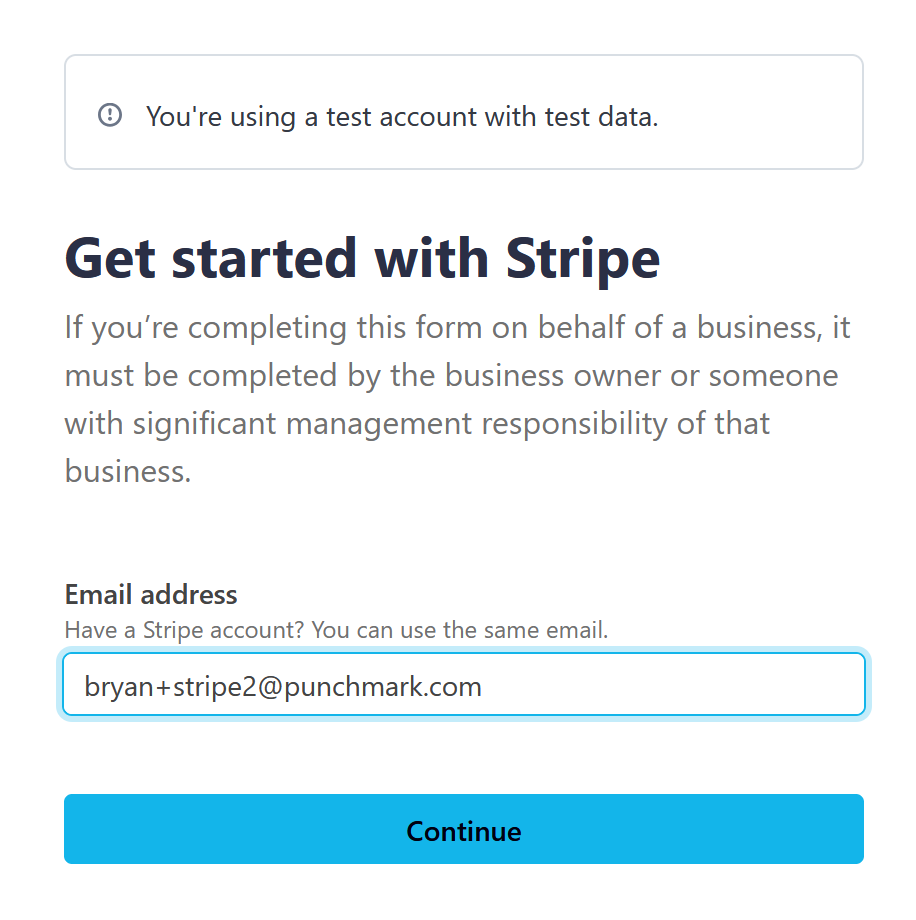
Use your own email address for this part
Enable 2-Step Authentication
We recommend using Google Authenticator or Apple’s Authenticator App for this. For simplicity, find the link under the barcode that says “Use my phone instead”
Business Set Up
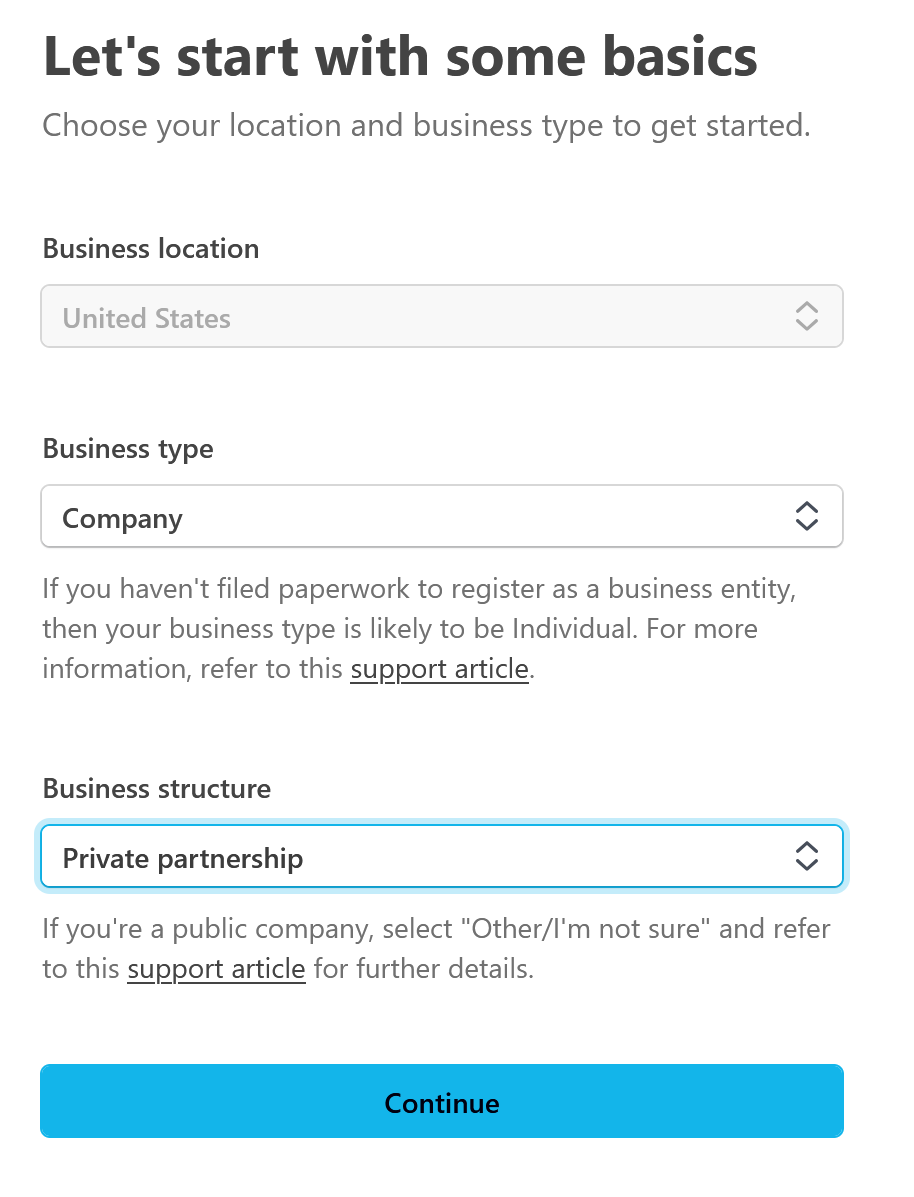
Next enter your Business name, legal name, address, product description, and other details
Personal Details
Name, address, phone, and SSN
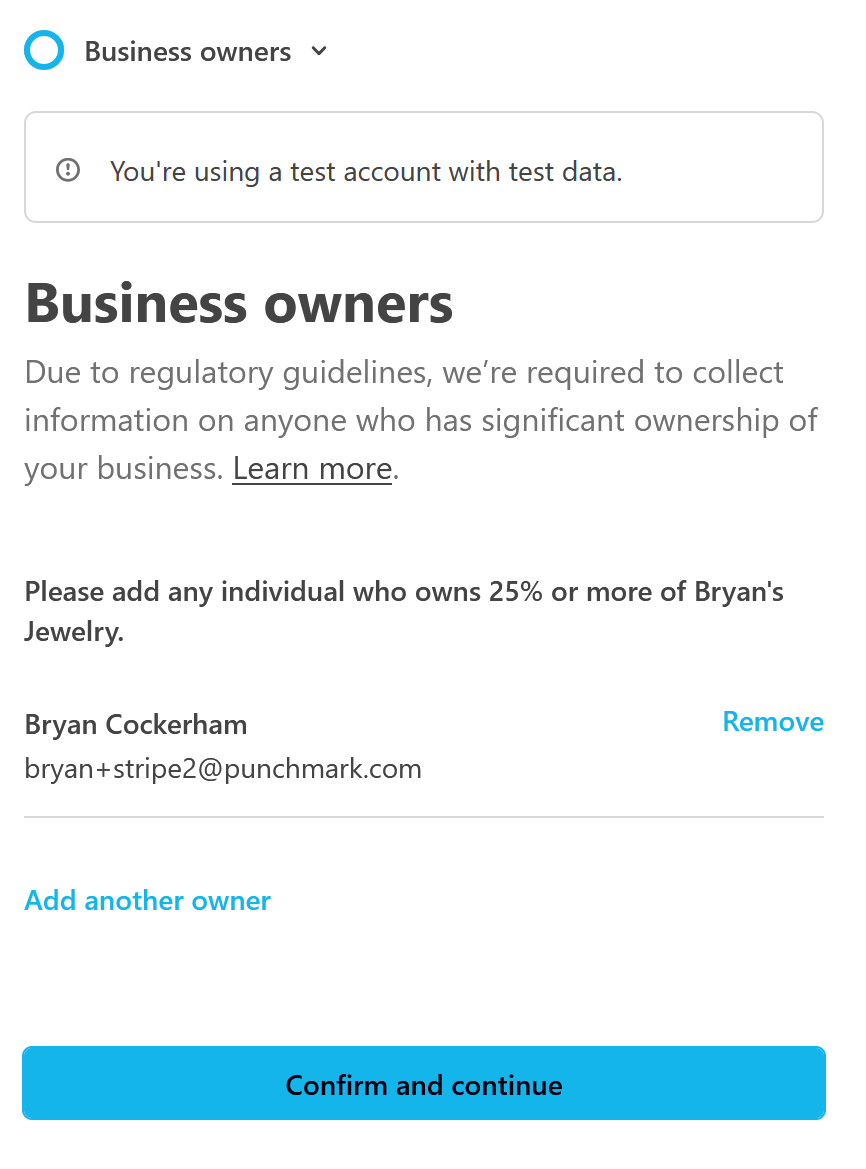
Other Business Owners
If anyone else owns over 25% of your business, they will have to be declared as well.
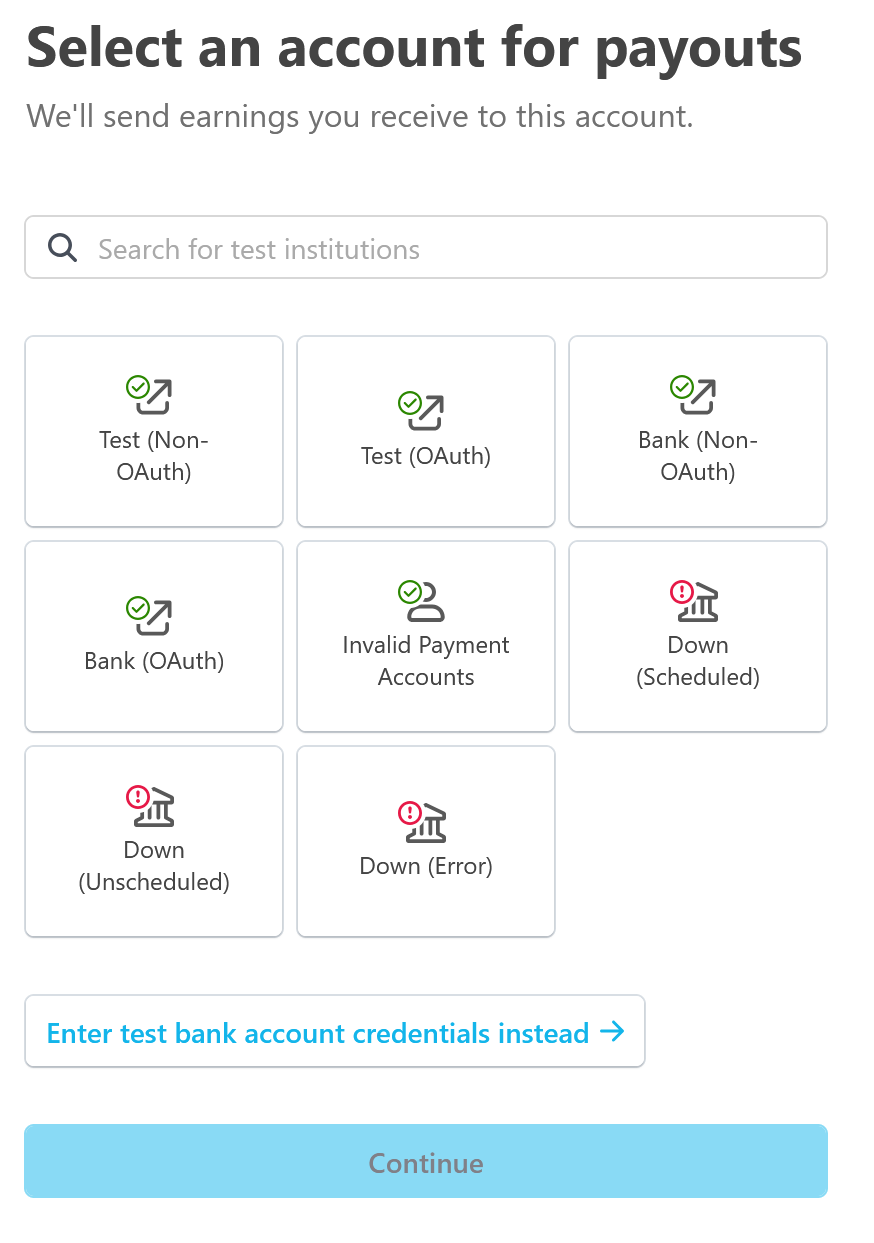
Connect Bank Account
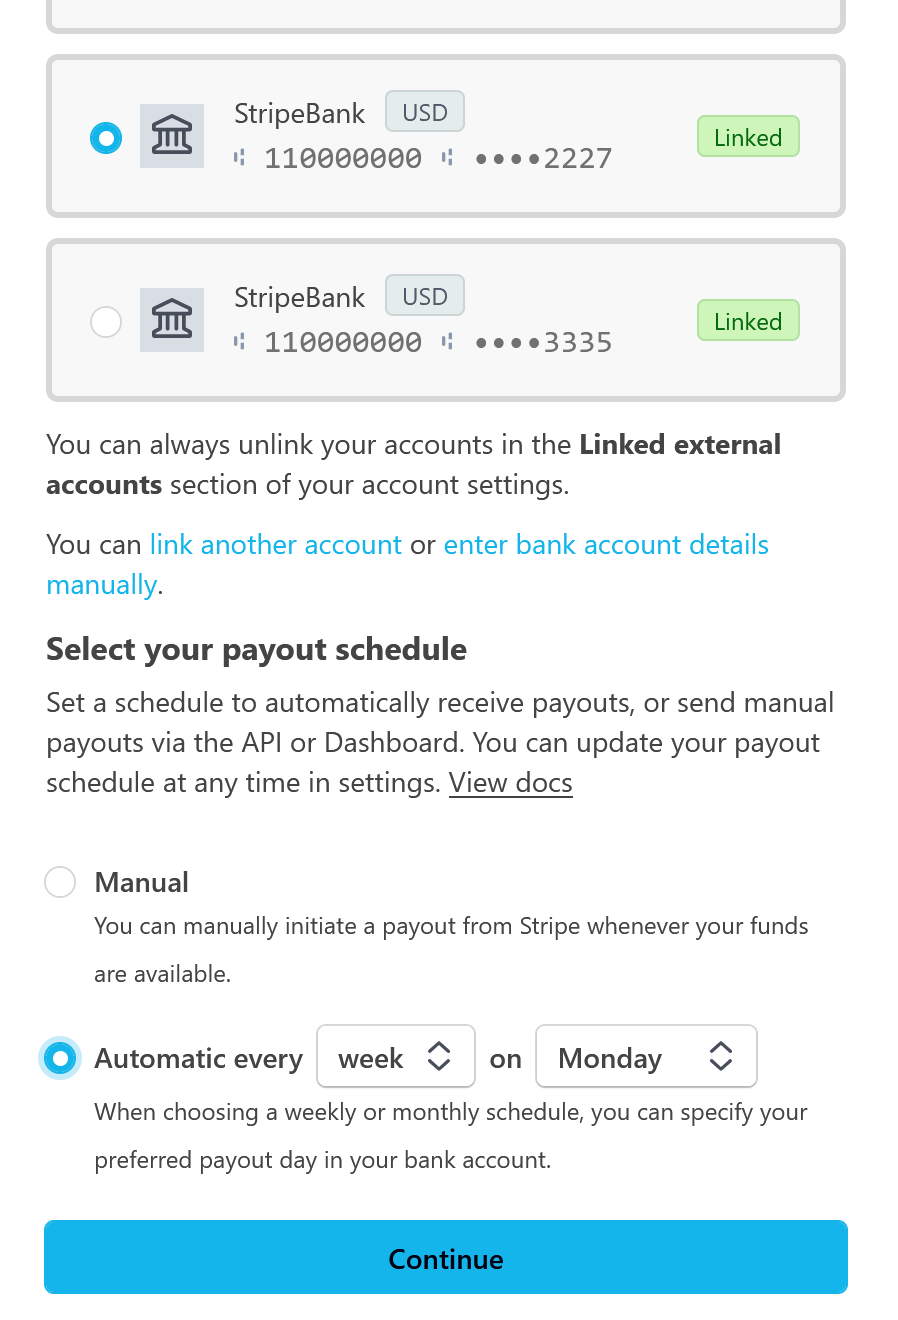
Select Payout Schedule
Select how often Stripe pays you out, or select manually, if you want to leave your money in Stripe.
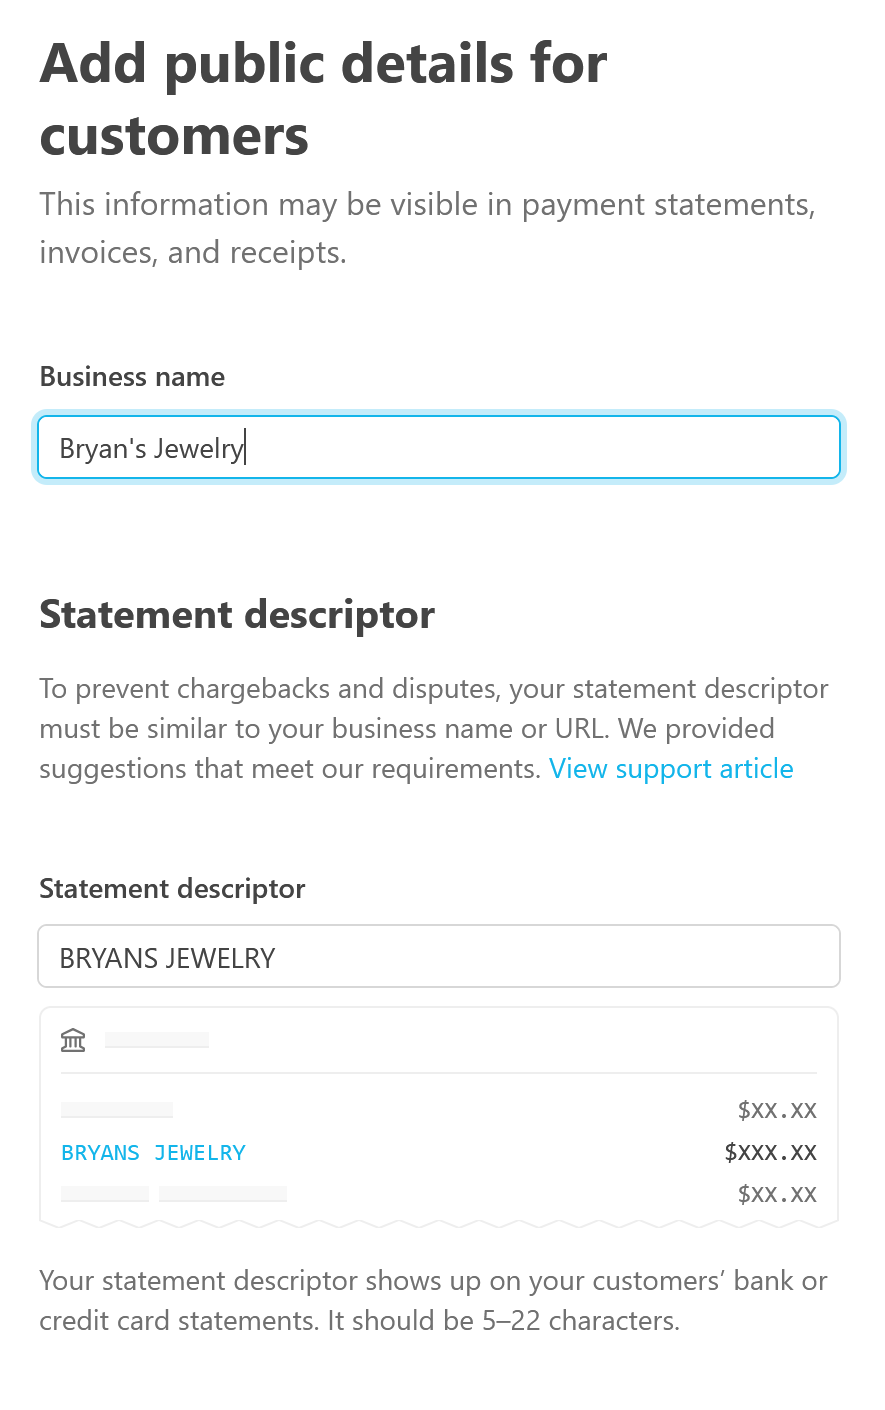
Configure Public Details
Add your Company Name as shown on CC statements, your customer service address, etc.
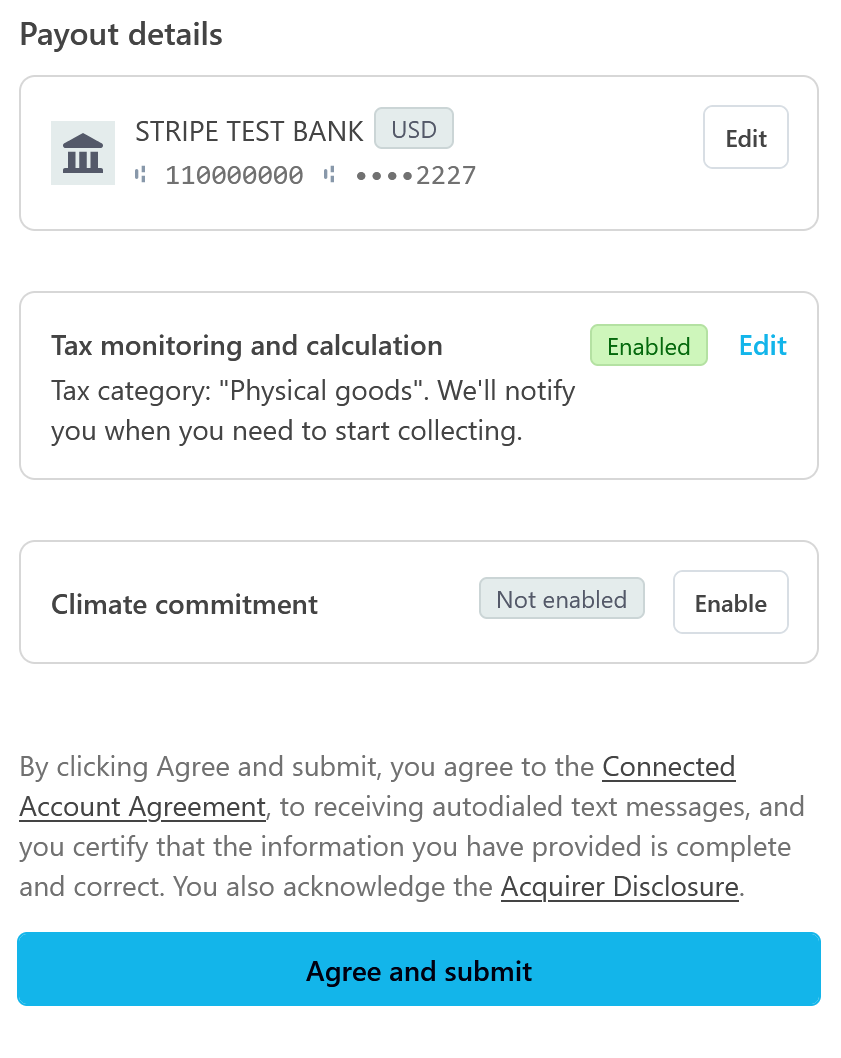
Opt In to Stripe Tax
"Select Physical Goods" and opt in.
Review And Submit
Make sure no section reads as "Incomplete"
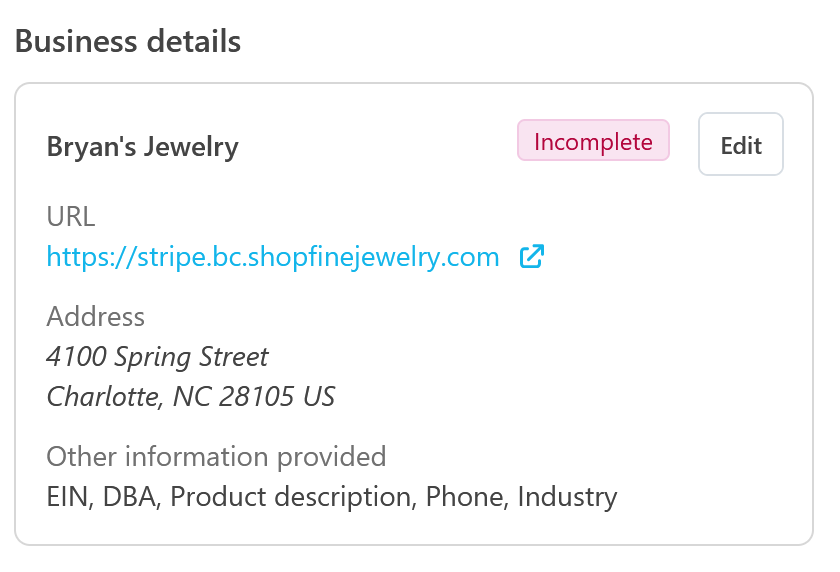
Once finished, select Review and Submit
First Stage Complete
Nice work! This will bring you back to your SiteManager E-commerce Settings Page.
Further Requirements
If requirements still exist, they will be shown on the dashboard (somewhat cryptically).
Select "Continue Account Setup" to log back into the Stripe Onboarding flow and look for instructions.
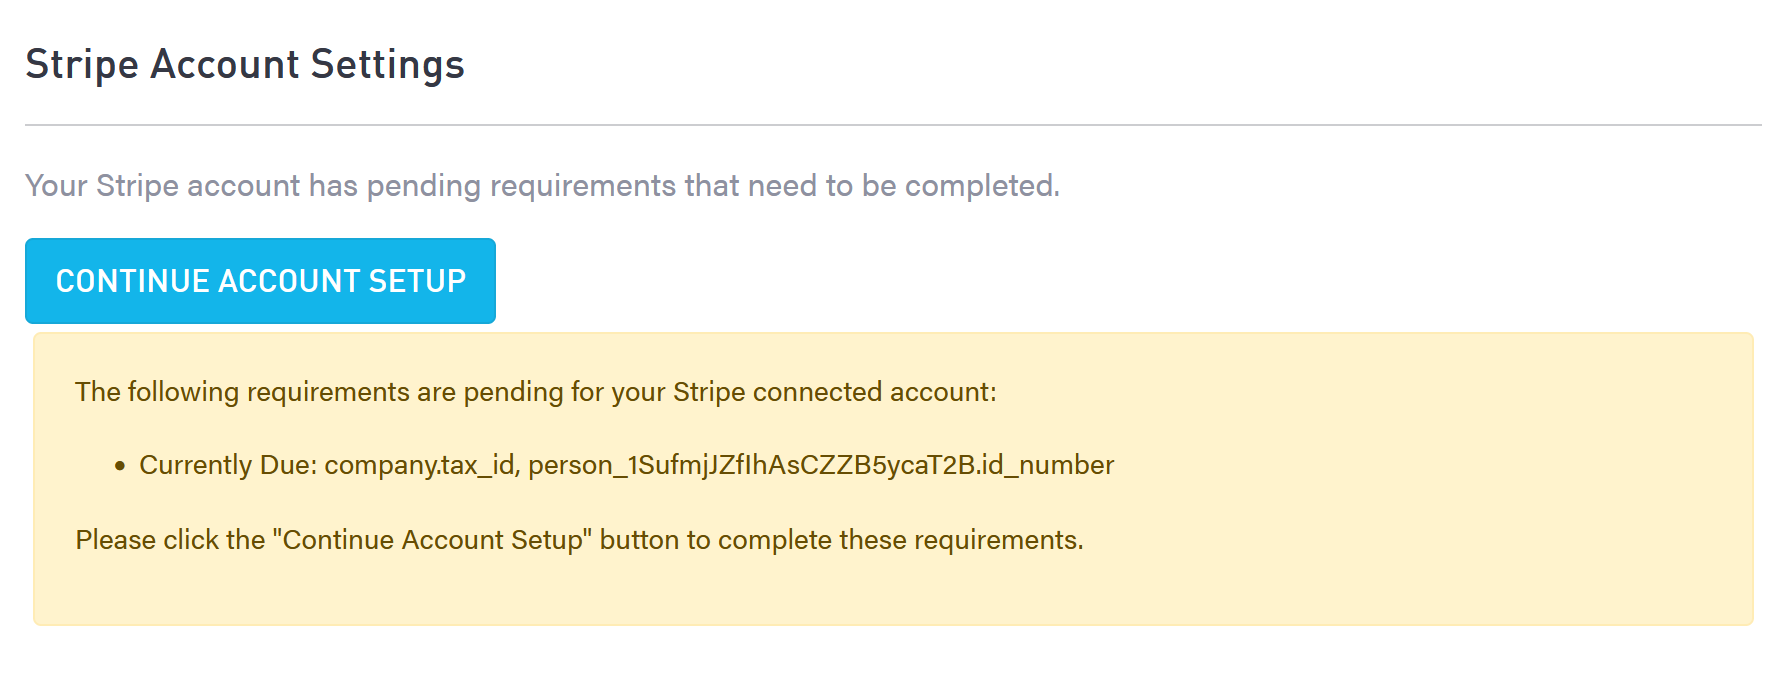
Requirement Updates
If you still see the message "Your Stripe account has pending requirements…" and a "Continue Account Setup" button, it means that Setup is not yet complete.
As Stripe processes requirements, you will need to continue to refresh the E-commerce Settings page periodically until you see requirements listed. Once they are listed, you can select "Continue Account Setup" to go back in and satisfy them.
Example: at a certain point, you may have to return and upload a photo of a valid ID.
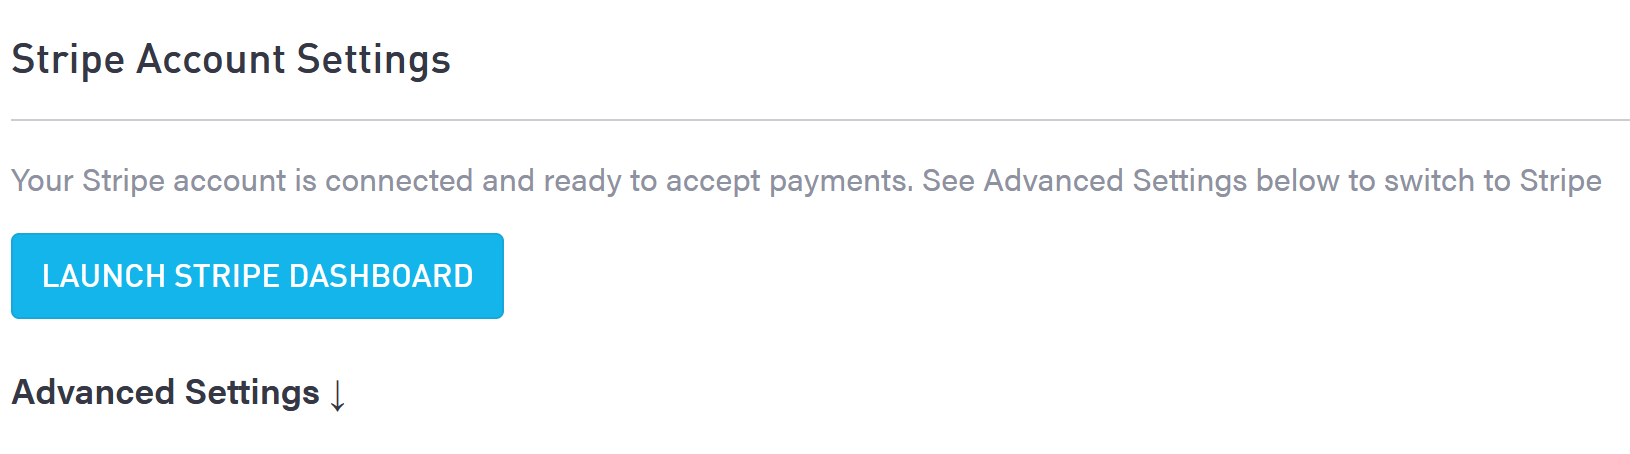
Requirements Fulfilled
Once the requirements are fulfilled, you will see a new message and a new button.
Next steps:
Accept Terms of Service
Enable Apple Pay (optional)
Switch to Stripe
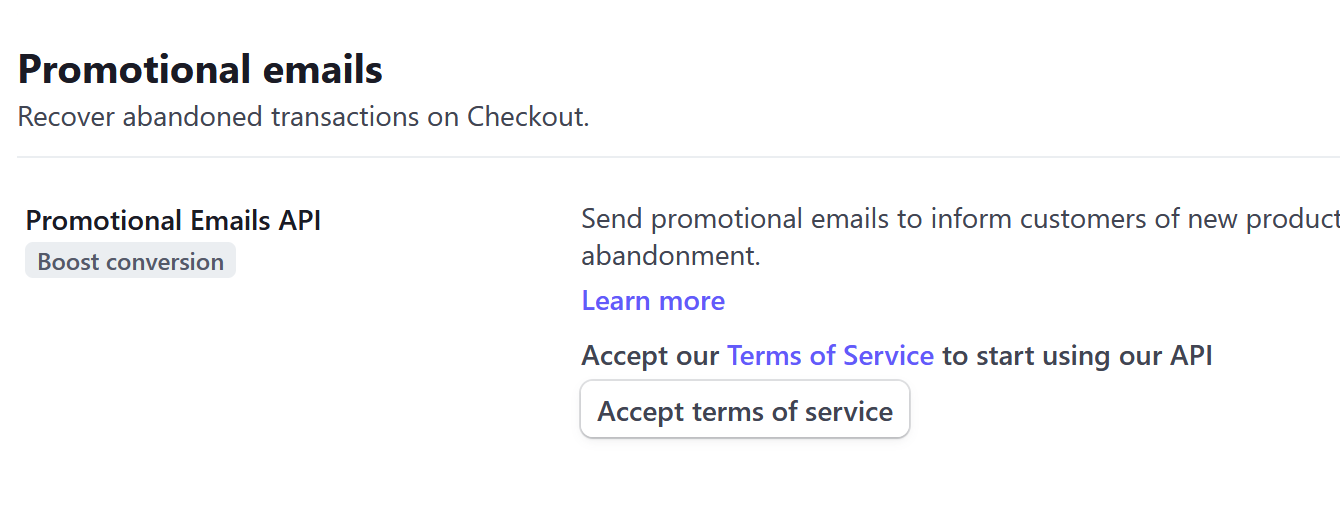
Accepting Terms of Service
This allows a vital function of the API – collecting user information for Abandoned Cart messaging.
Select the button in SiteManager Stripe Settings, or follow the instructions below.
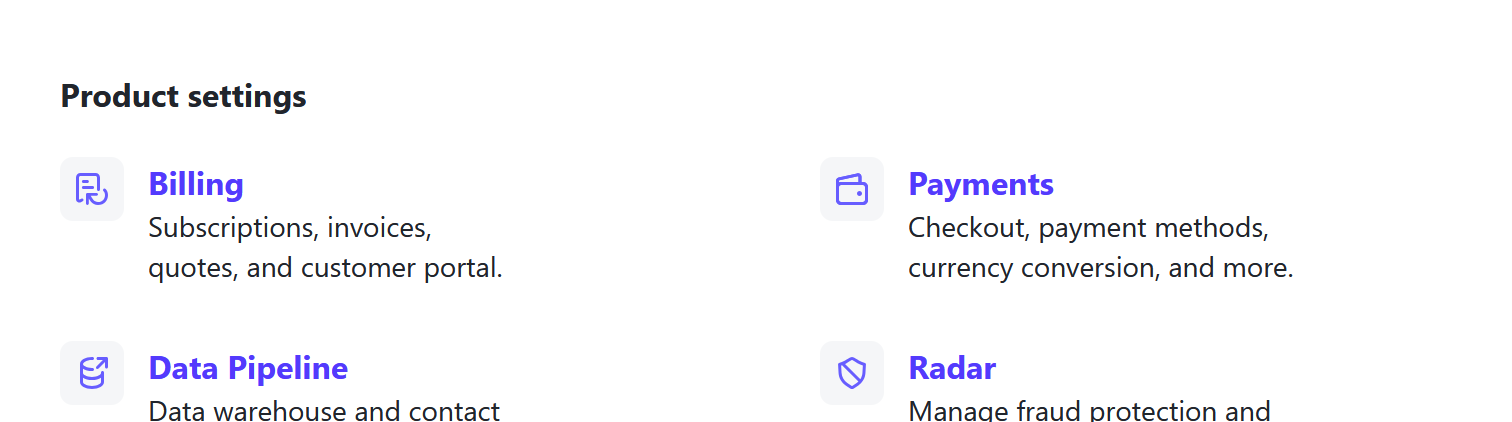
In Stripe, select Settings at the top right of the dashboard:

Scroll down to the bottom-center section, and select "Payments"
Scroll down to Promotional Details, and select the "Accept Terms of Service" button.
Ready to Switch to Stripe
If your website is currently configured for another payment gateway, your final step is to change your settings to Stripe.
Select "Switch to Stripe"
Make note of whether you are in Sandbox mode.
You are ready to make a test transaction.
For Sandbox test credit card numbers, please reach out to Punchmark.
Make a test transaction!
Once Stripe is set up, be sure to test by adding an item to cart and making a transaction.
You can refund the transaction in your Stripe Dashboard by using the Stripe Dashboard link on your E-commerce Settings page.