
Forms
Form Builder allows you to create custom forms and record answers. You can use these to do anything from capturing client inquiries to recording registrations for your events.
This video tutorial walks you through the basics of how to use form builder.
Access Form Builder
Access Form Builder by going to SiteManager > Content > Forms. Here, you can add, edit, and delete forms for use on your website. Learn how to do these tasks in the sections below.
Build a New Form
To build a new form, select the Add button in the upper left corner. You will see the following empty form in the Form Editor:
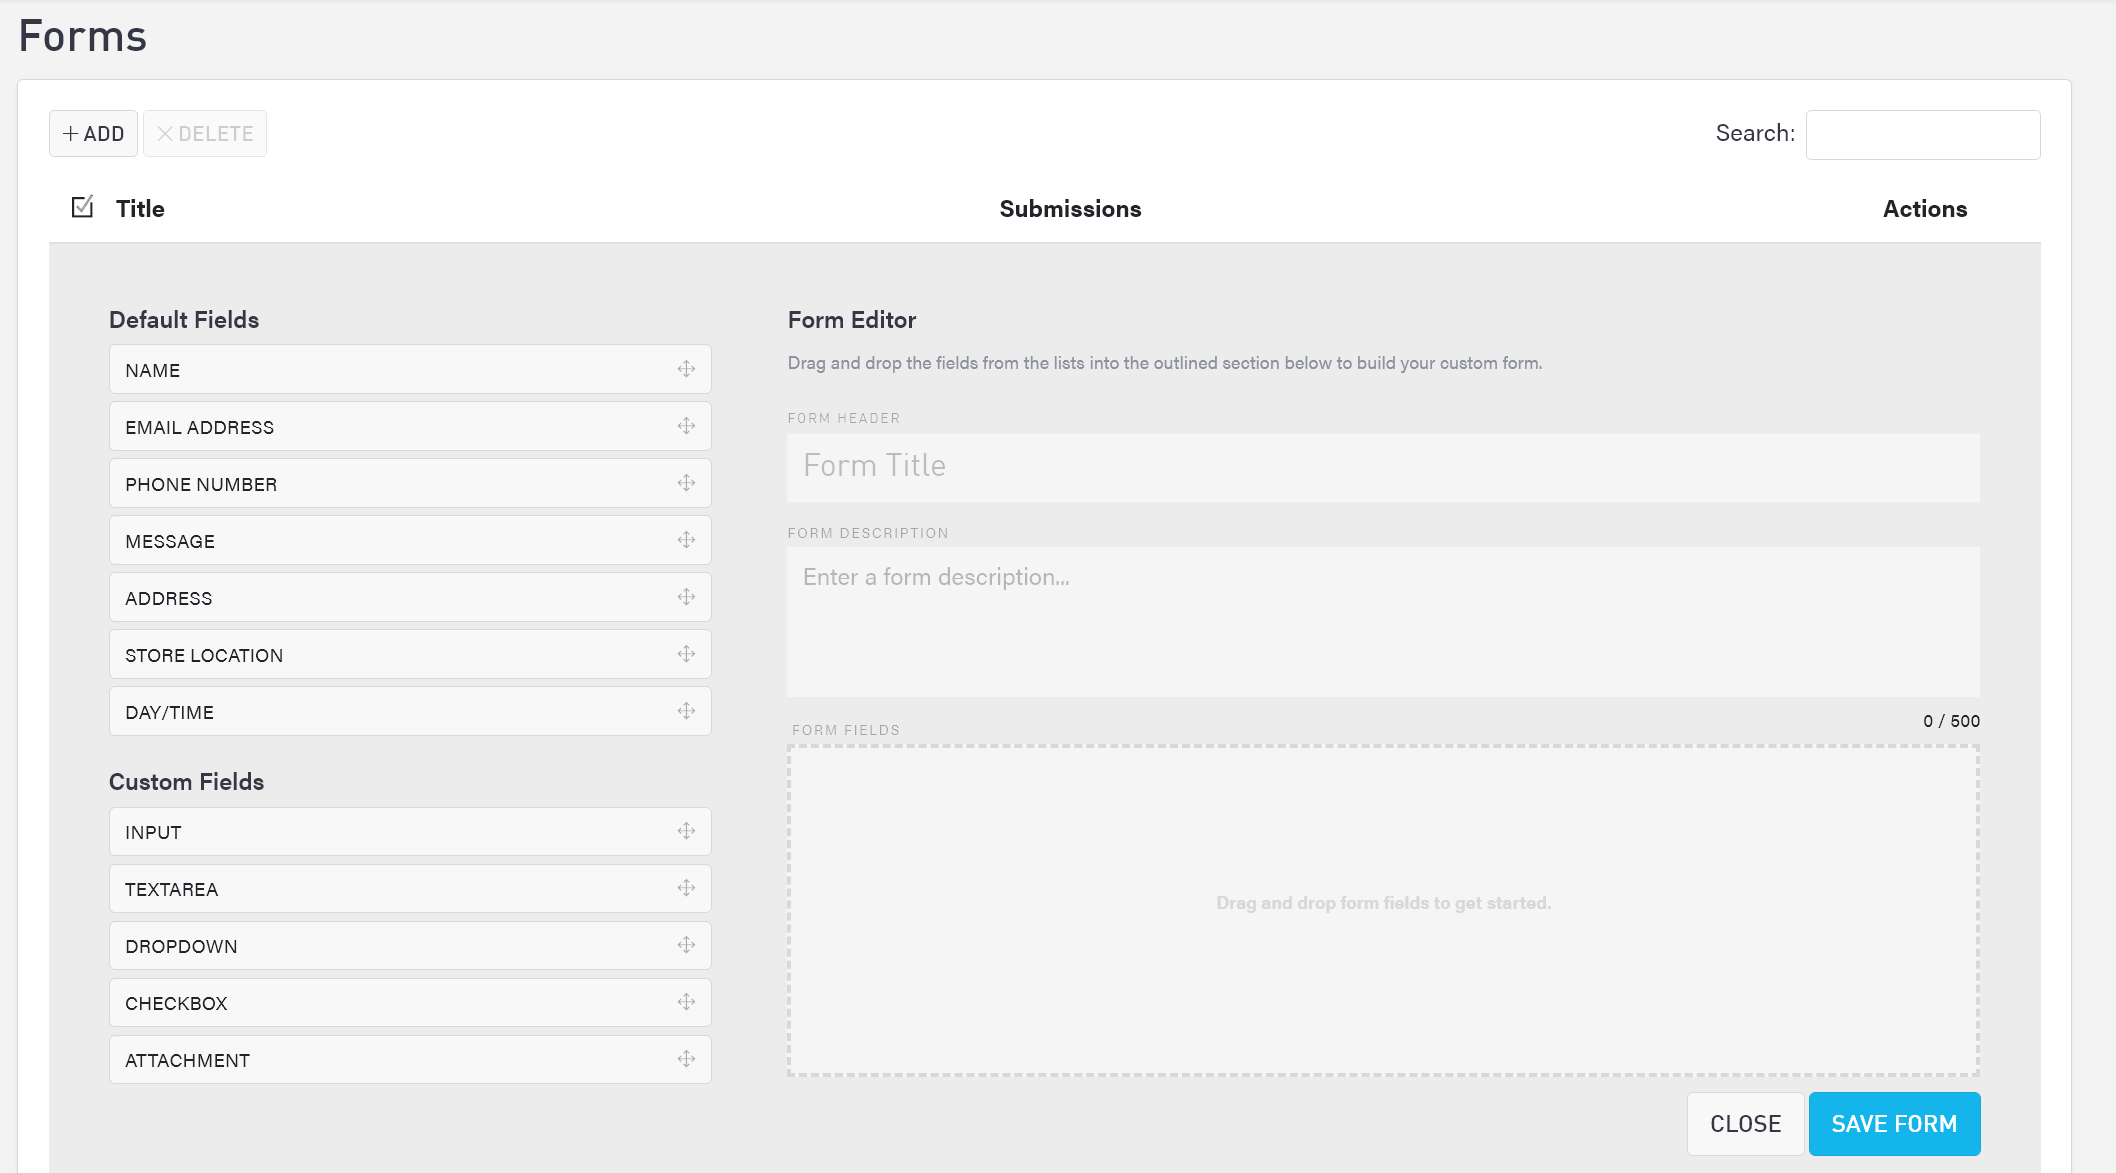
First, give your form a title in the Form Header box. This is for internal use and will not be shown on your website. Choose a descriptive title that makes sense to you and your team. A description in the Form Description box can add more context if needed.
Form Fields
Once you have the internal labeling set up, you can start to add fields. Click and drag the fields from the left into the Form Fields block. Some Default Fields are already available for your convenience. You cannot alter the text or fields in the default fields. You can only use each default field once per form. The default fields include:
Name (First, Last)
Email Address
Phone Number
Message
Address
Store Location (dropdown)
Day/Time (selectors)
The benefit of using default fields is limited data validation. For example, an email address field requires the format [text]@[extension].[X] and phone numbers must be numeric values with certain lengths.
You can also add Custom Fields. The types of custom fields include:
Input (short-form text)
Text area (long-form text)
Dropdown
Checkbox
Attachment
Rename custom fields by typing over the light grey Custom Label text above the custom field. For Dropdown and Checkbox fields, add more options by selecting the small grey + on the right-hand side of the field. Remove options using the small red X.

All fields in forms are currently required. Future updates to Form Builder will give the option to mark fields as required or optional.
To delete a field, select the red X on the right-hand side of the field you wish to remove. To re-order fields, click and drag the move cursor icons on the left-hand side.
Once you are done editing your form, select Save Form in the bottom right corner.
Form Submission Success
Upon successful submission of a form, you may choose to:
Redirect a customer to a URL of your choosing
Display a success alert of your choosing
Choose both options above, which will display the success message for a few seconds before redirecting to your custom URL
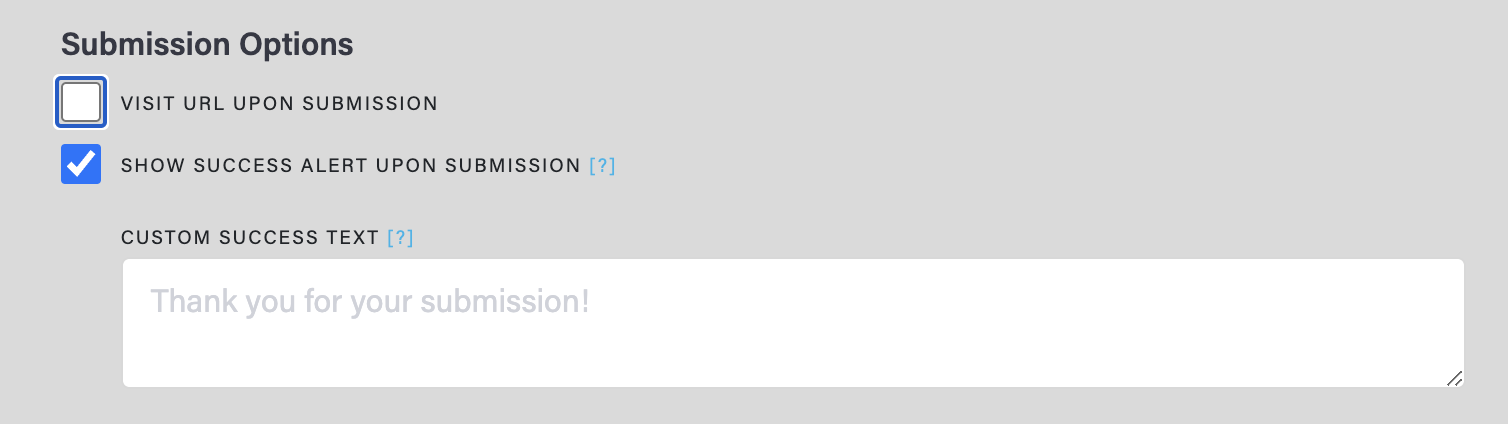
Form Submission Success Options
Edit a Form
To edit a form, select the Edit Form button on the right-hand side of the form you wish to update. Save your changes using the Save Form button at the bottom of the form. To discard your changes, select the Close button.
Delete a Form
To delete one or more forms, select the checkbox(es) of the form(s) you want to delete. Then select the Delete button at the top of the page.
Add a Form to a Page
To add a form to a page, navigate to PageBuilder (SiteManager > Content > Pages). Edit the page you want your form to appear on by selecting the pencil icon on the right-hand side of the specified page. Or, you can build a new page.
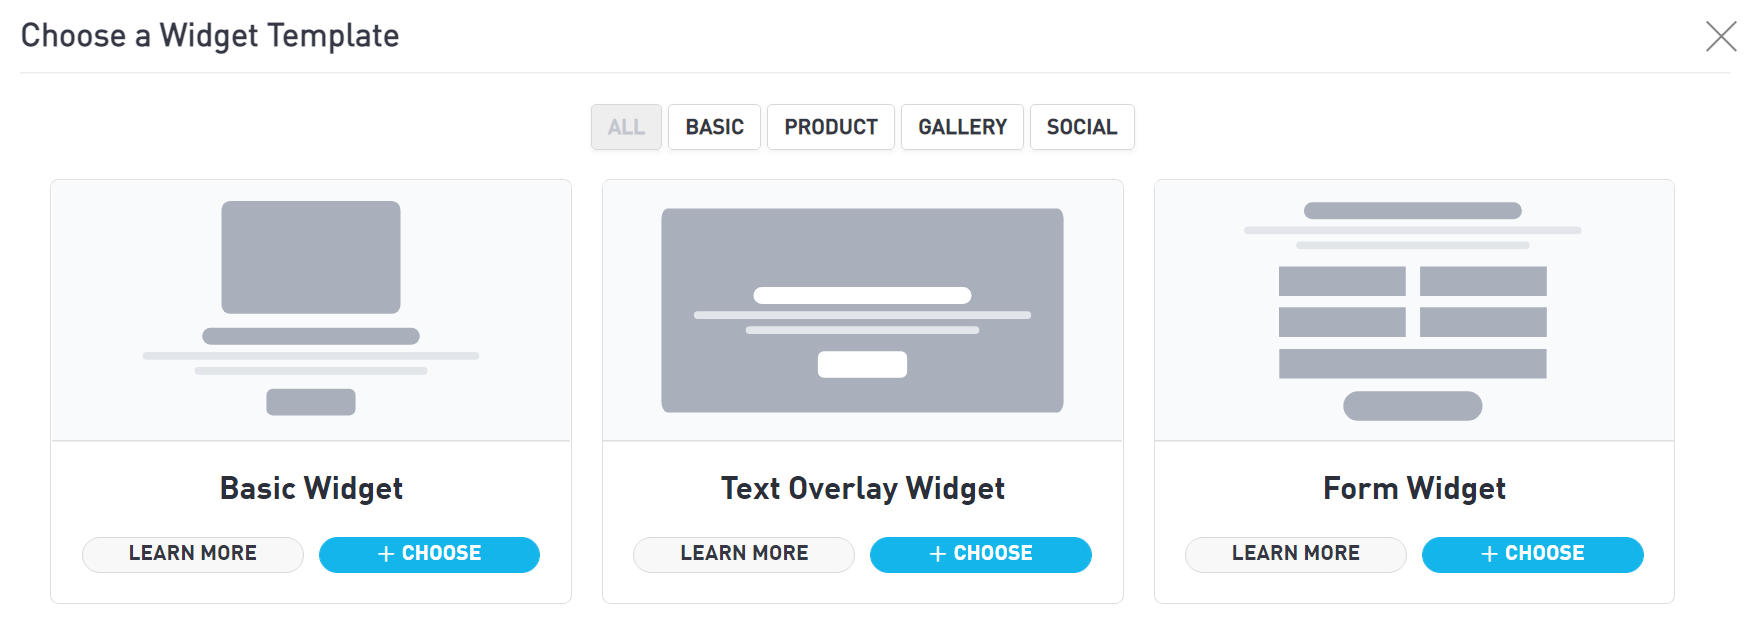
Once you are in PageBuilder, start by adding a new section. Within this section, add a new widget. Select Form Widget as the widget type. Select the form you wish to use via the dropdown under Insert a Custom Form.
If you edit your form after adding it to a page, the form on the page will reflect your changes in real time. Simply refresh your browser to display the new changes.
Every form you create will have a CAPTCHA validation at the bottom. This will prevent you from getting spammed by bots. You do not need to add it in using Form Builder, as it will be auto-added to all forms.
If you wish to test your own form once adding it to your page, use an Incognito Browser.
For help using PageBuilder, see our guide.
Viewing Submissions
To see the responses to your form, navigate to your Messages in SiteManager.