
How to Create a Homepage Banner
The Slide Editor is a tool available through SiteManager that allows users to create homepage slides with or without text, buttons, and overlays; as well as create multiple slides that will be transitioned between.
We also have an educational livestream recorded on this topic. Watch Now
To begin, log into SiteManager and navigate to the sidebar > Content > Home Slides.
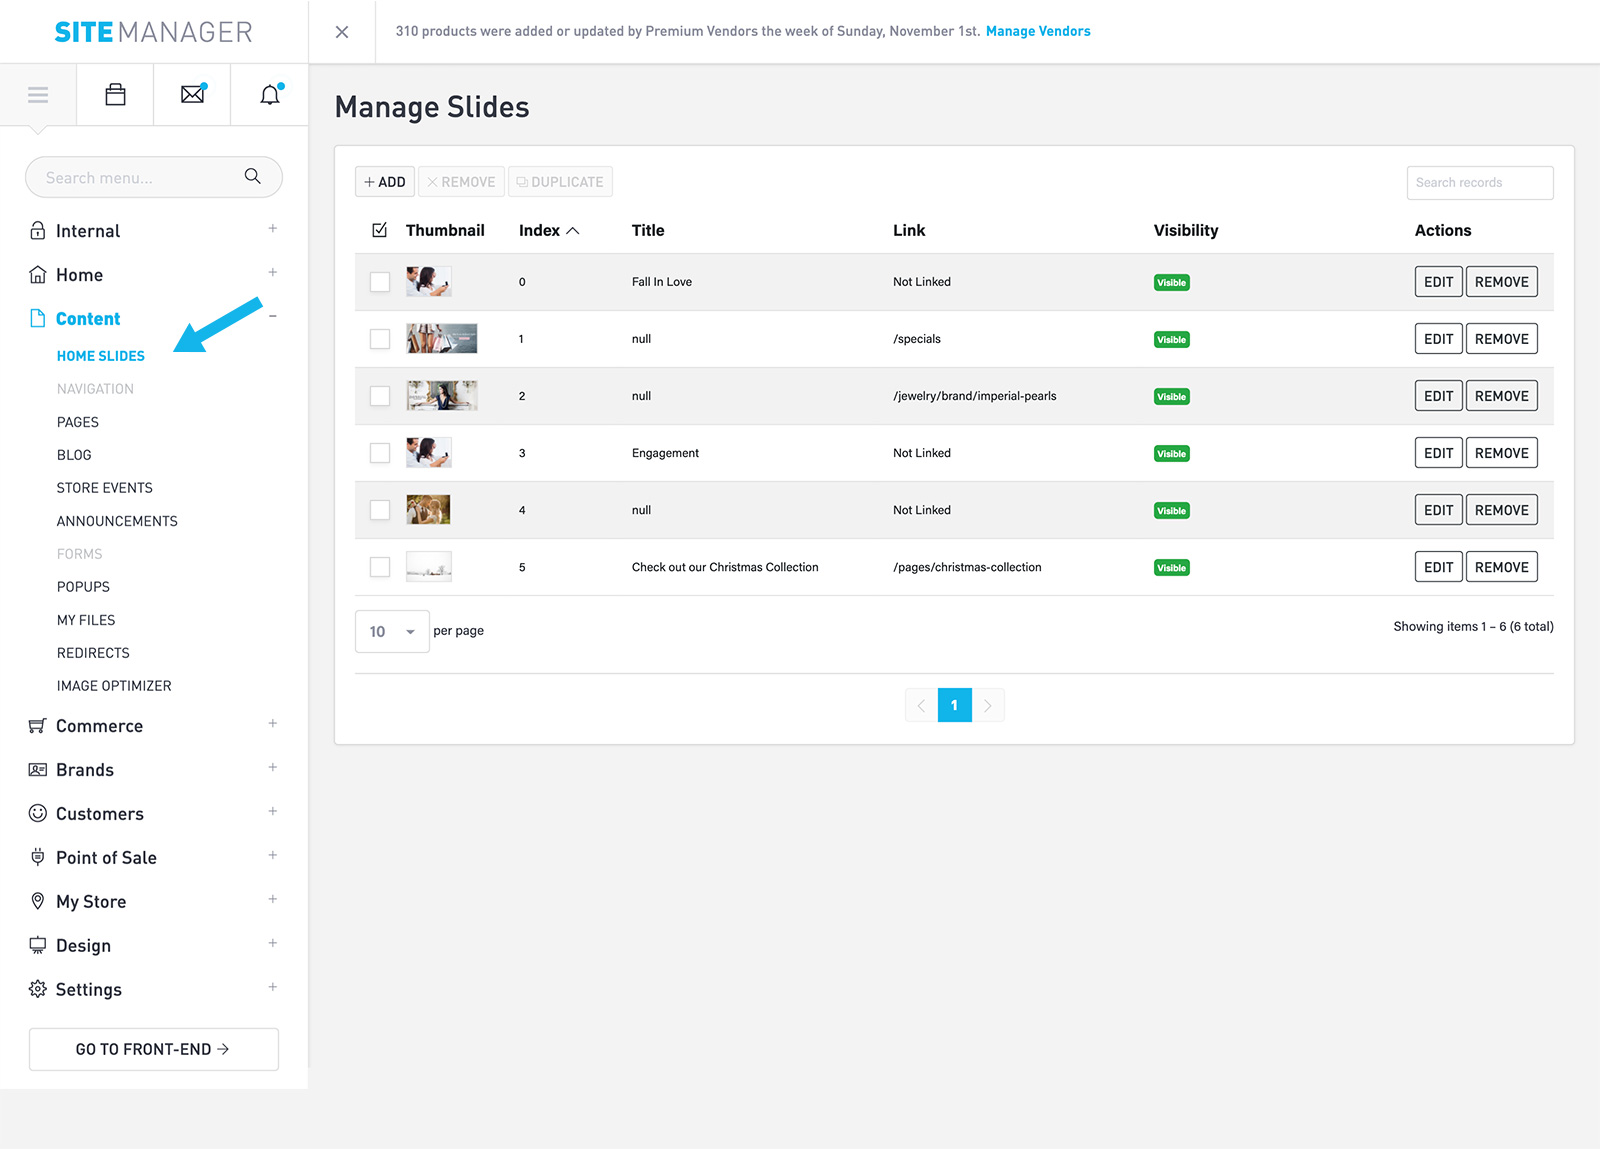
To create a new slide, select the button in the top left labeled “+ADD”. This will direct you to the Create a Slide page.
When you open up a new slide, generally the first thing you’ll want to do is add a background type. Most users use an image as the background type. By selecting the Browse button, you will launch the FileManager, which houses your local files as well as the Image Library, available to all Punchmark clients.
If you plan to add text to your banner, it is best to choose an image that does not also include text on it.
Optional: Adding a Background Overlay
It can be a good idea to add a Background Overlay to your banner, which is possible by toggling ON the checkbox labeled “Overlay background color over your image or video”, selecting a Background Color, and adding an Overlay Opacity, then selecting Save.

This will add a thin layer of your selected color on top of your banner image.
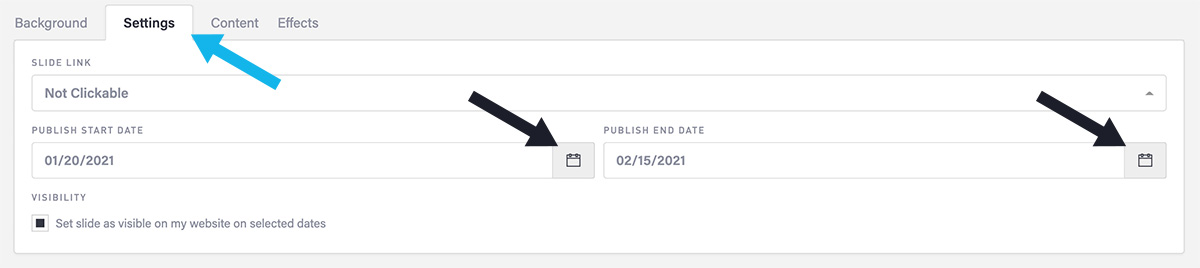
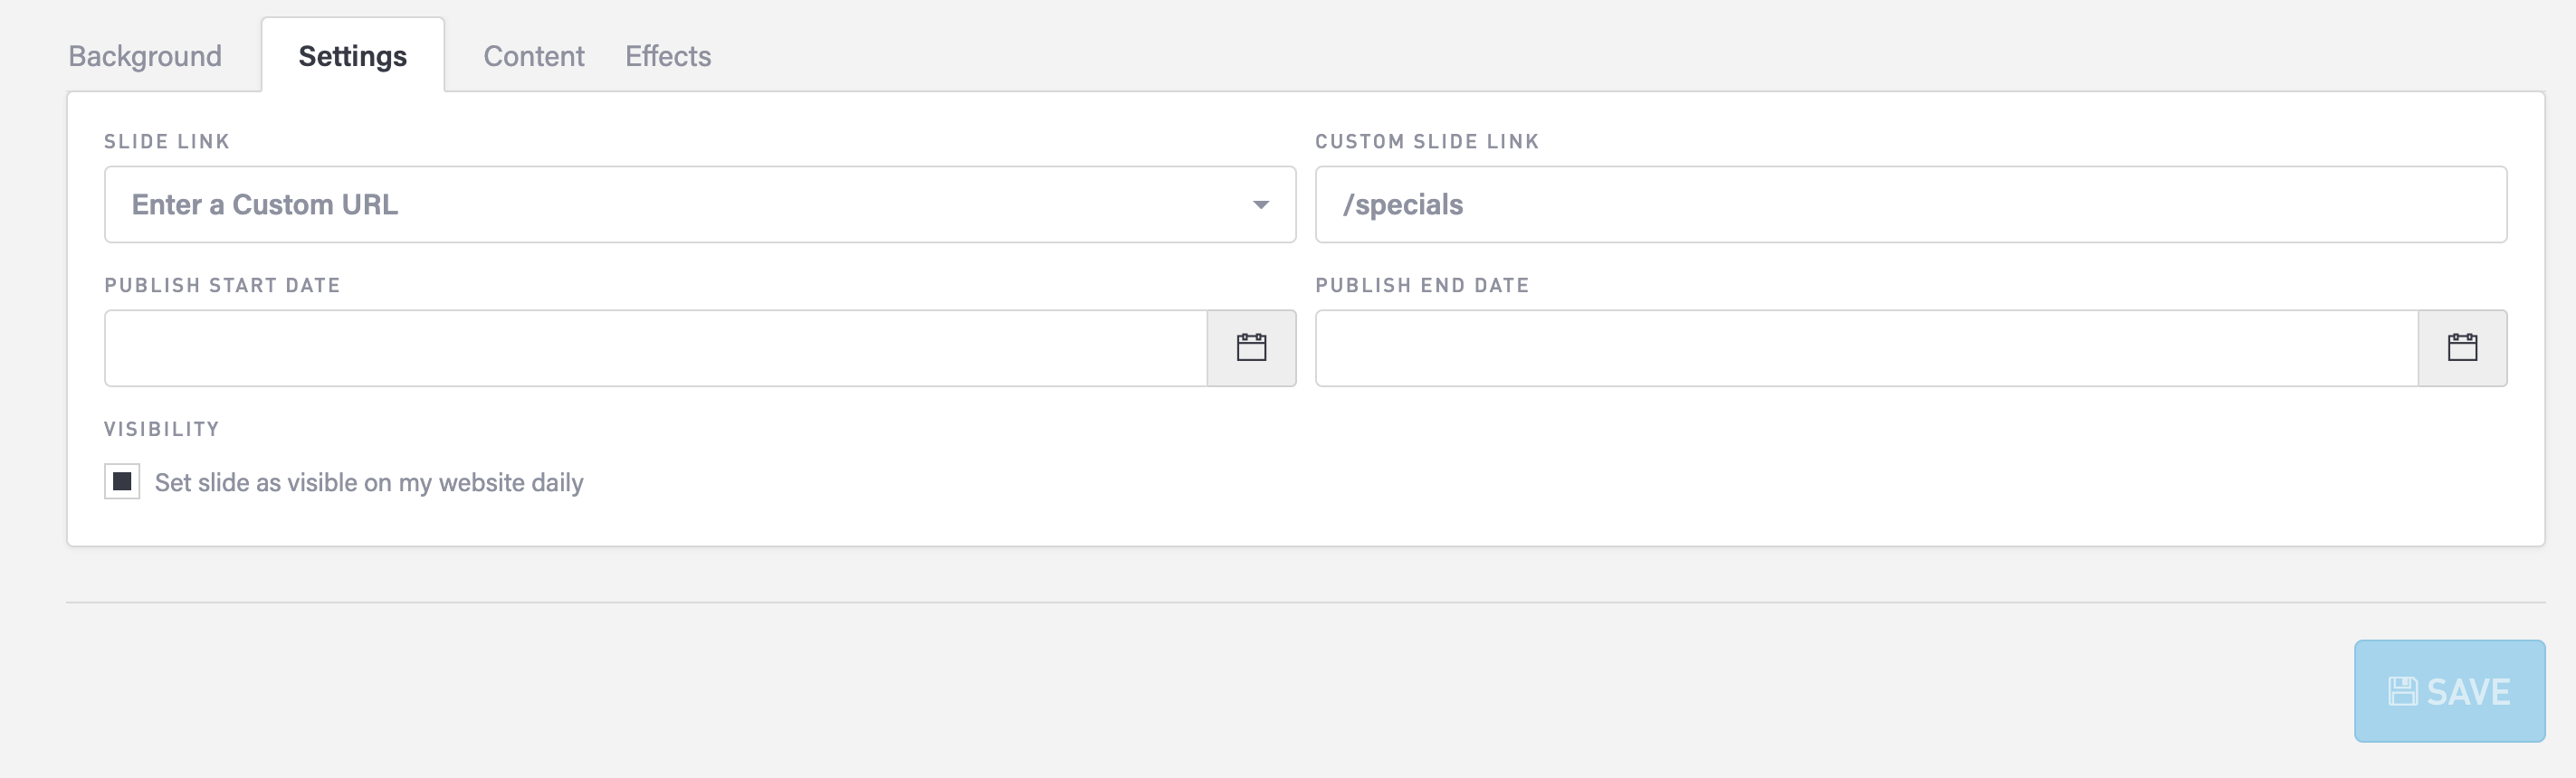
Optional: Setting a Publish Start/End Date
If your slide has to do with sales or holidays, it can be helpful to add a Start/End date to your slides. This way your slide will be set to invisible at the end of the last day.
Adding Content
In this tab you can add your Header, Paragraph copy, and Buttons.
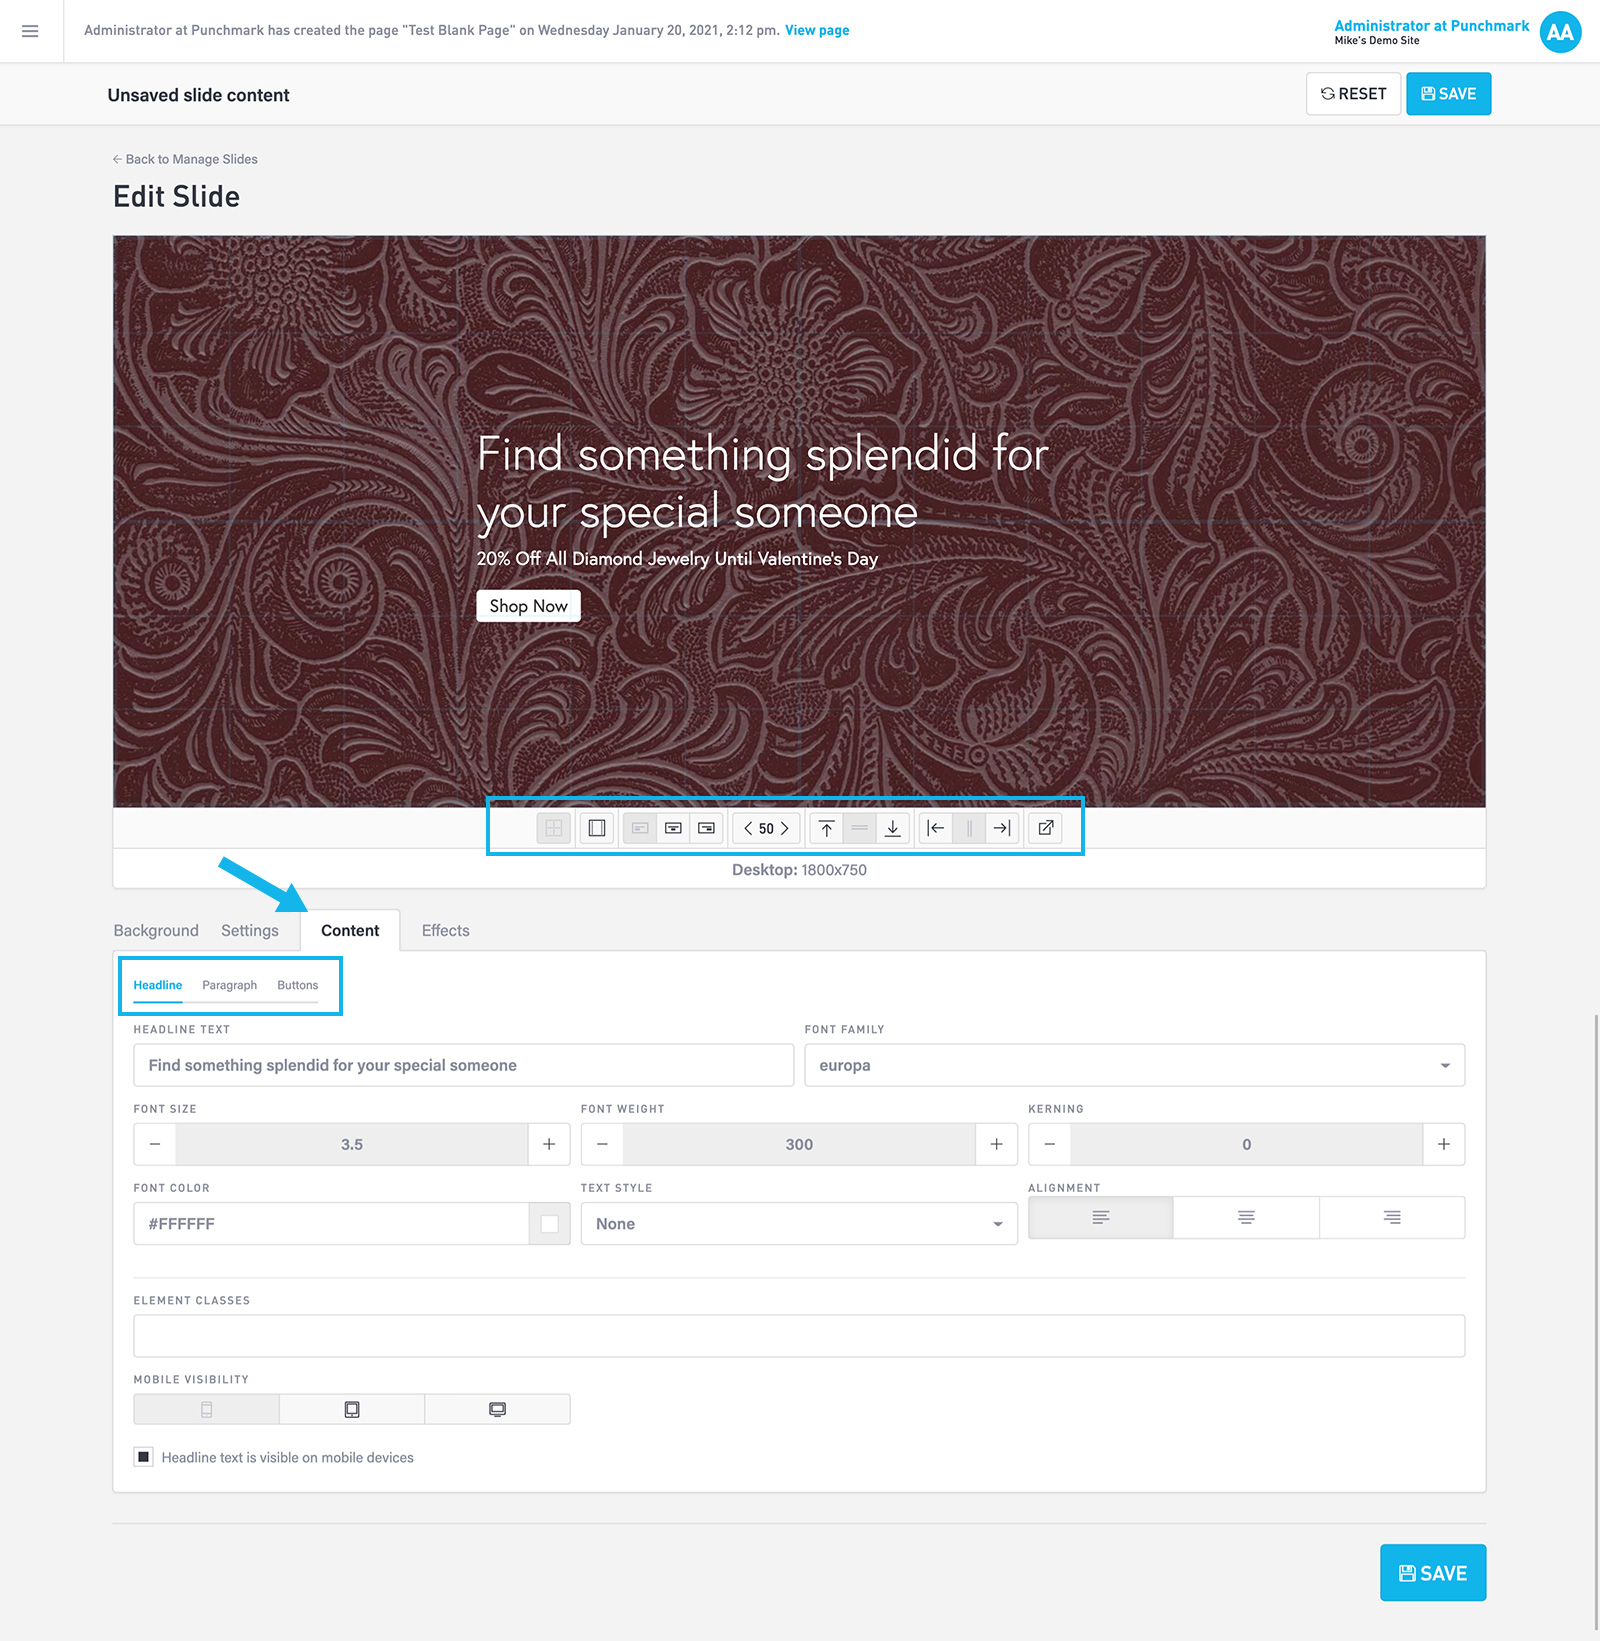
You can also format the content block and alignment of the content through the buttons directly below the slider sample.
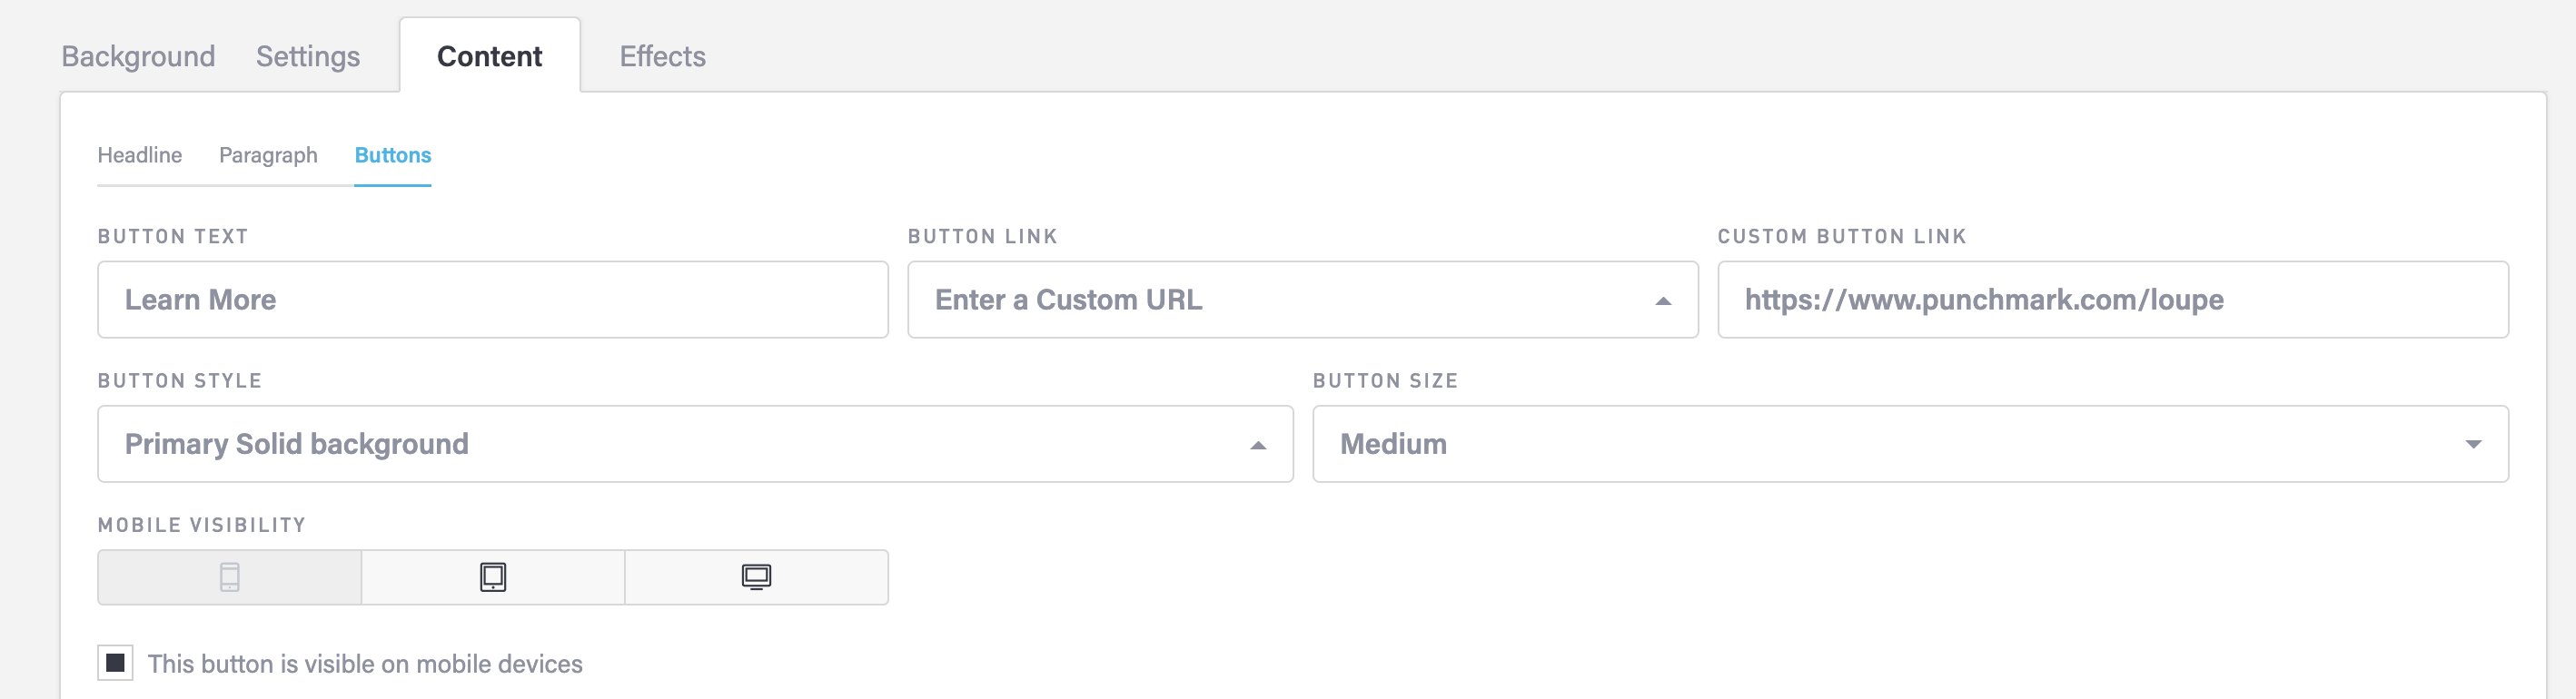
Adding Buttons
To add a button to your slide, in the Content tab, select the Buttons sub-tab and add your call to action to the Button Text, and either link your website’s page, or a custom URL that the button will link to. URLs that are not on your website or begin with https://, will automatically open in a new browsing window.
Adding Click-Through
A click-through is a link that will be navigated to when a user selects the slide image. To add a click through link for your slide, access the Settings tab and add a Slide Link and either link your website’s page, or a custom URL that the button will link to. URLs that are not on your website or begin with https://, will automatically open in a new browsing window.
Save & Reorder
Once you are happy with your slide, Save your slide, and then you can reposition your slide in the Manage Slide page by click & dragging your slide in the table.