
Images
One of the four types of elements on a page are images. Images can be any graphic or photograph in either JPG, GIF, or PNG format. Instead of a static image, you can also use the Image element to upload a video (MP4).
Adding or Removing an Image
Once you have inserted a widget containing an image element, you will see a grey image placeholder. Select the placeholder by clicking on the grey box and ensuring you are in the Elements sidebar (if you are in a different sidebar, navigate to the Elements sidebar by clicking the Element breadcrumb at the top of the page). Inside the Element sidebar, you will see an Image dropdown.
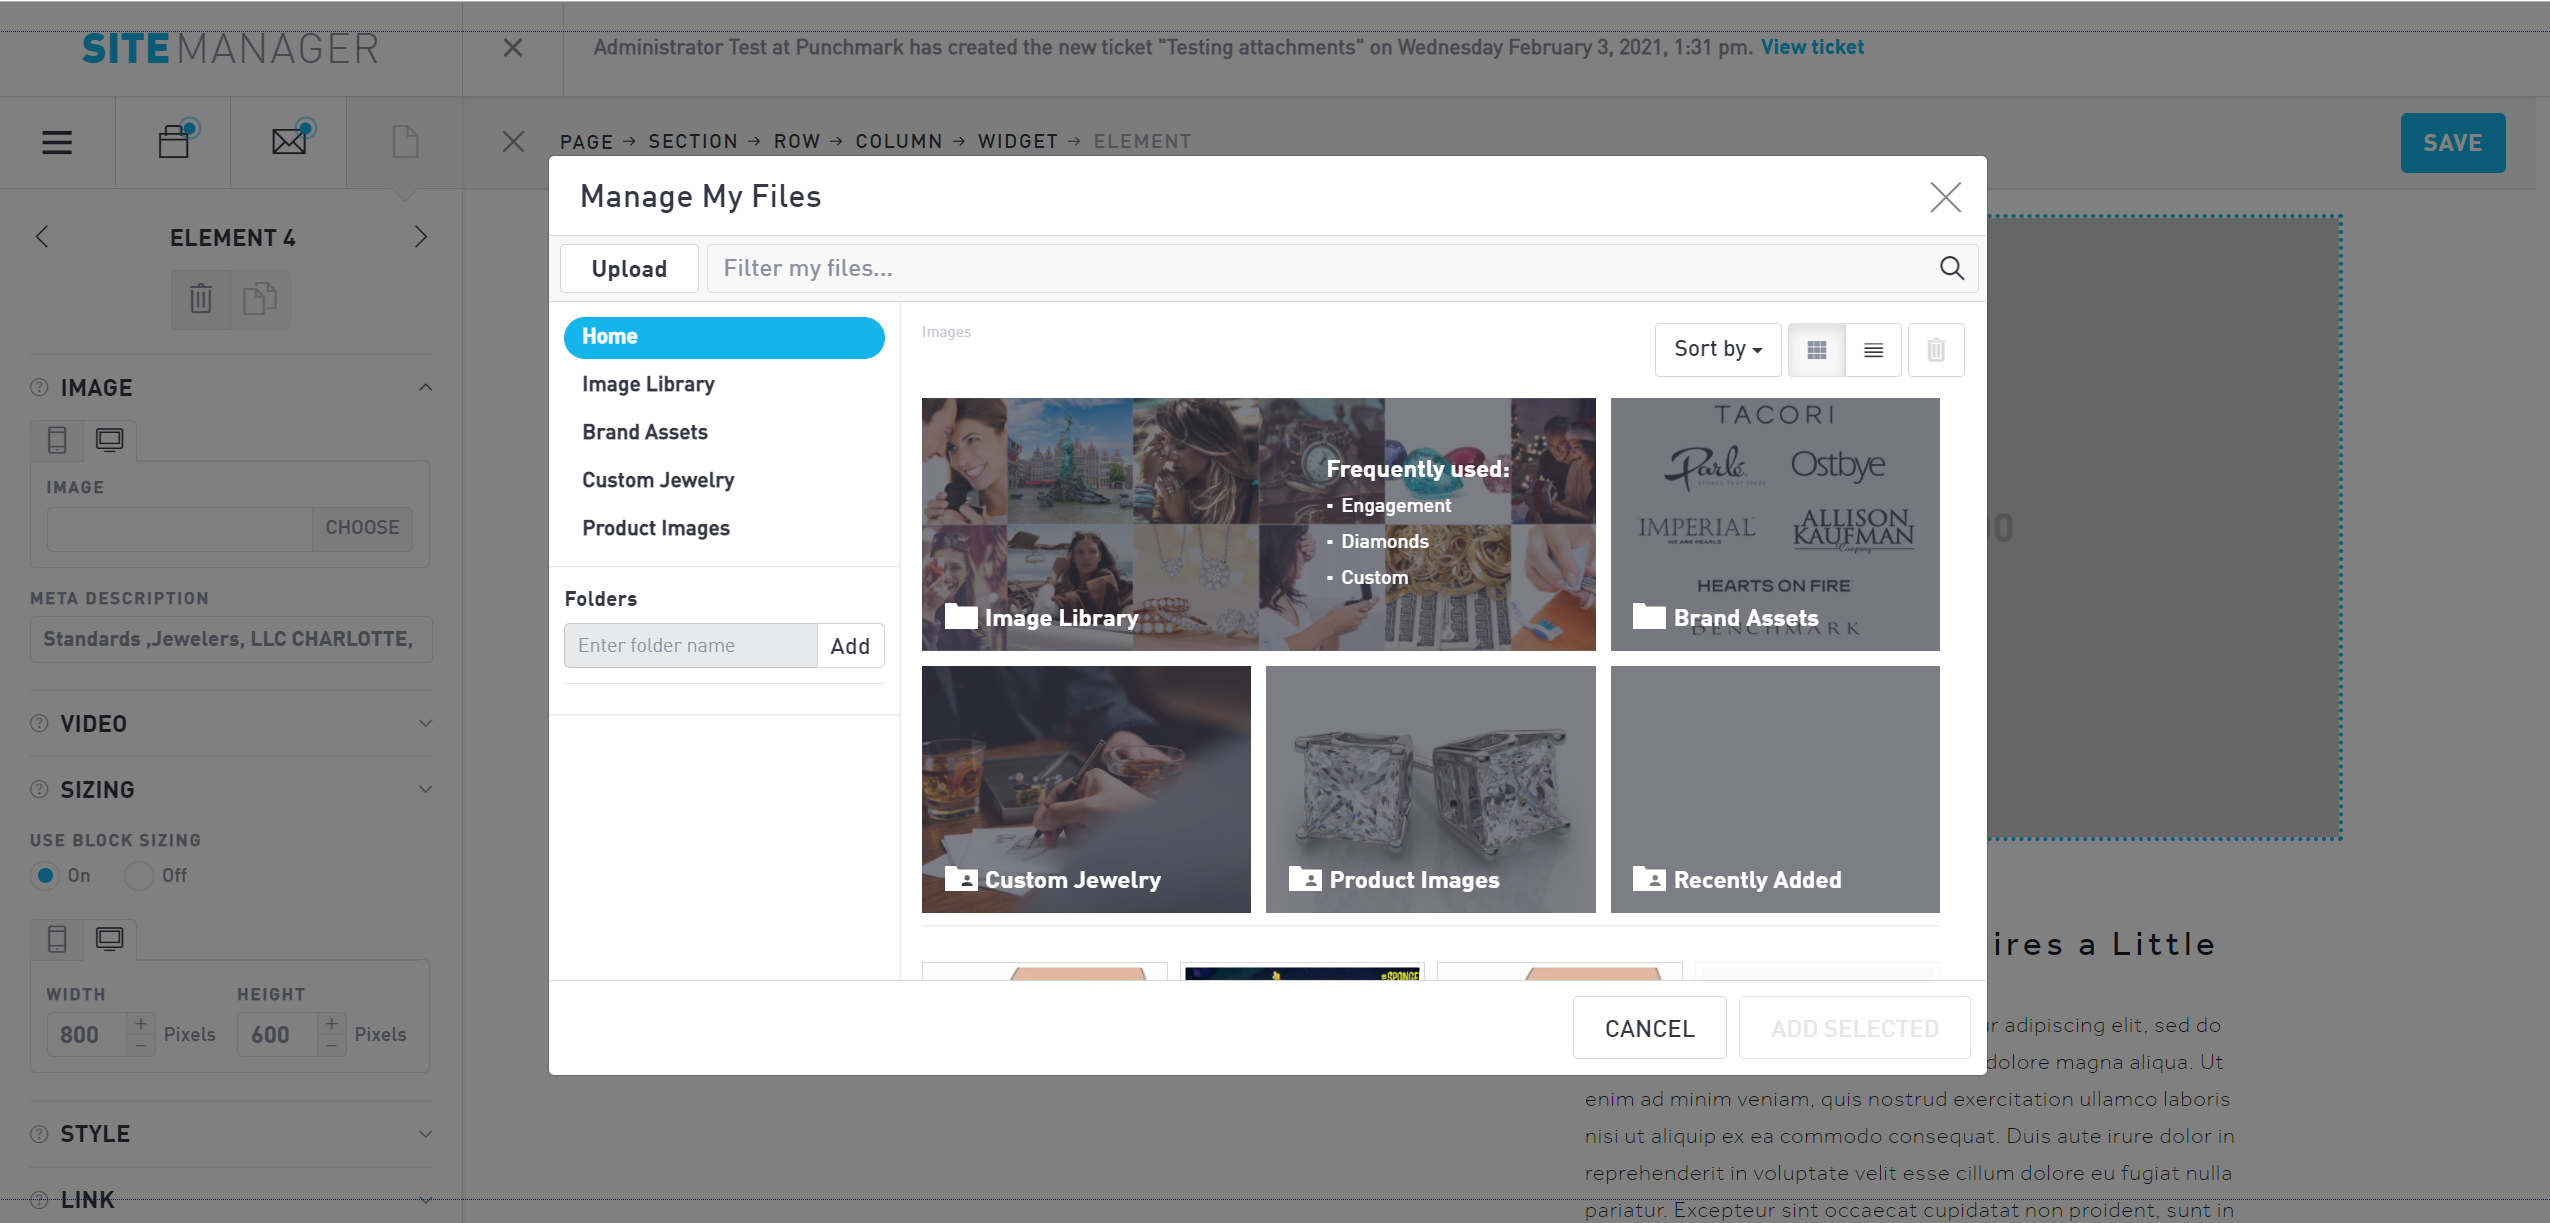
Select Choose to insert a file. FileManager will pop up. Choose a photo from your FileManager, or upload a new file by selecting “Upload” in the upper left-hand corner of the FileManager pop-up (this only works when you are in the Home tab). Once you have selected the photo you wish to use, choose “Add Selected” in the lower right-hand corner.
Once you select a valid file, you should see the file path populated in the text box to the left of the “Choose” button. An image preview will also appear above the file path, as well as the option to remove the image. To change the image, simply re-open FileManager by selecting “Choose” once more. Note that if you remove the image, it only deletes the current image from the placeholder. This does not remove the image element itself.
You can add a meta description for your image in the text box below the file path. We recommend giving each image a 1-2 sentence meta description in order to boost your SEO ranking.
Adding or Removing a Video
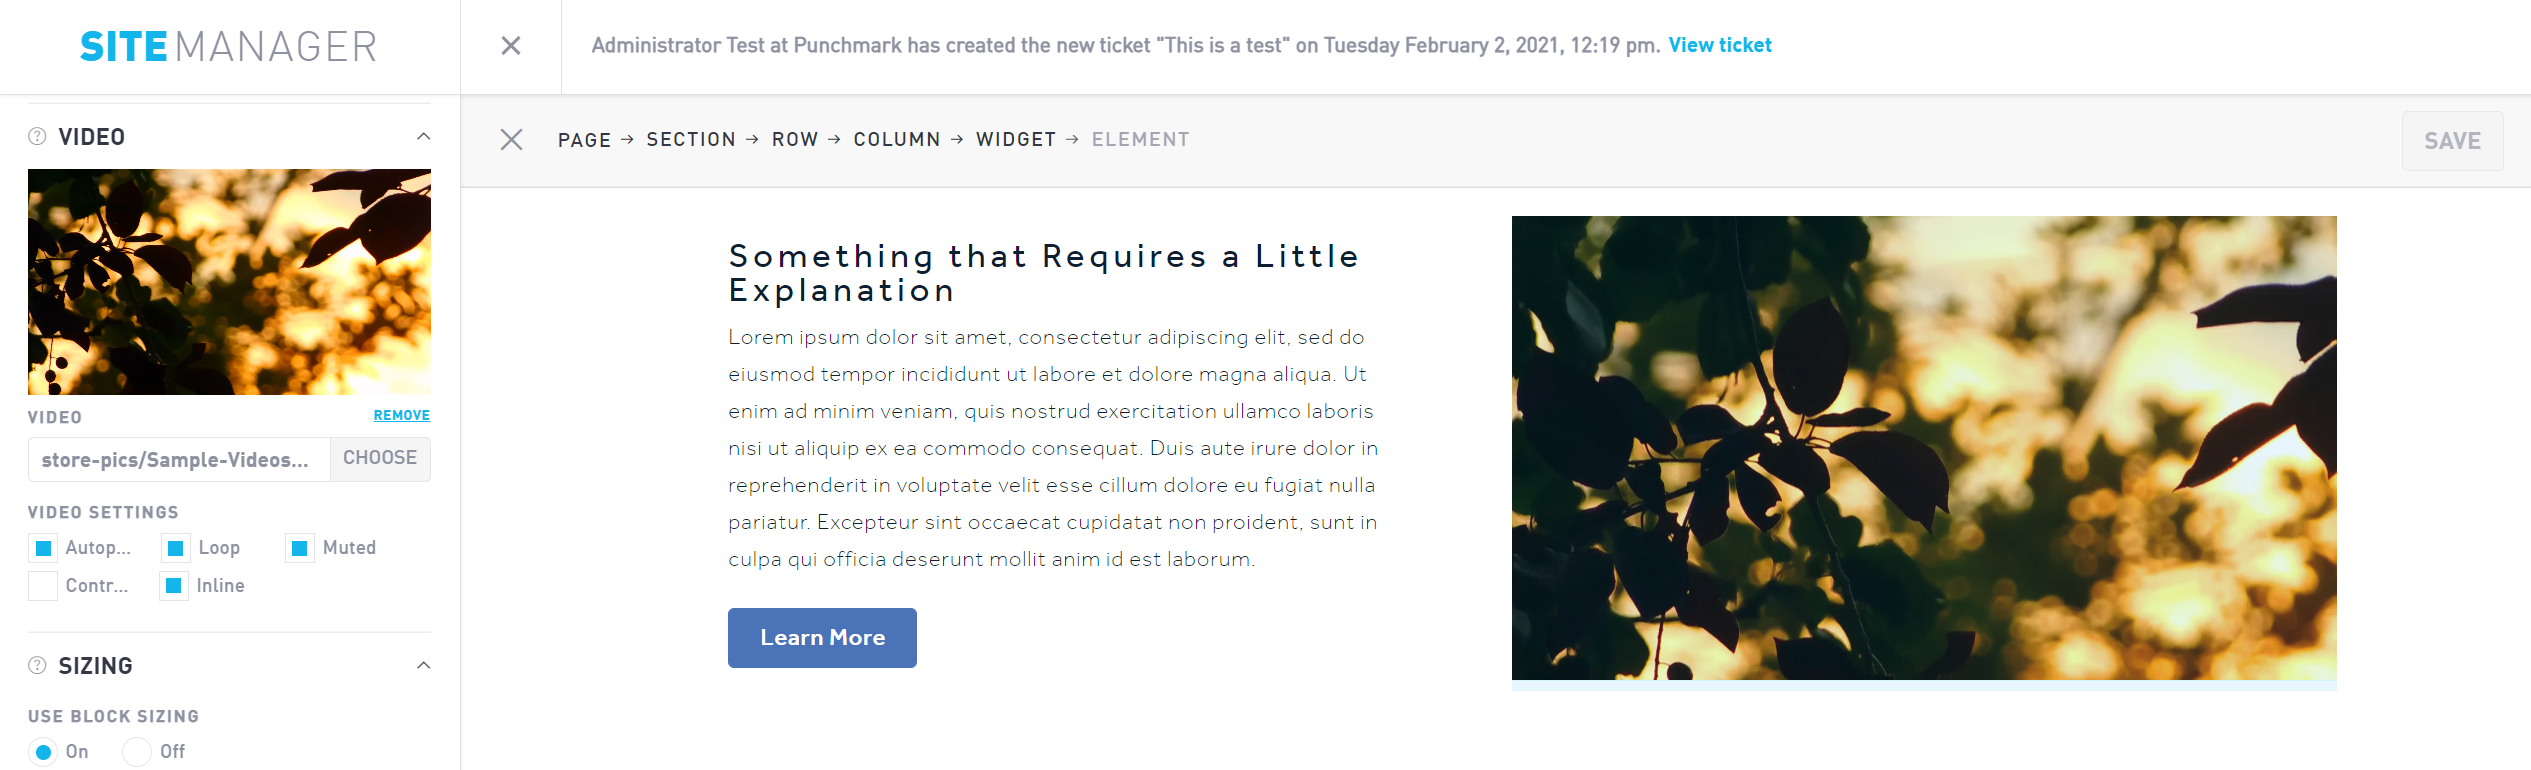
To add a video, navigate to the Video dropdown. Add a video the same way you insert an image from FileManager or uploading a new video on the Home tab. Note that you can only add MP4 files as videos at this time.
Once you have added a video, you will be able to designate a video poster image under the Image dropdown. If your video is not set to autoplay, you will want to upload a video poster image so viewers do not see a blank grey screen. Videos set to autoplay do not need video poster images.
Control your video using the Video Setting checkboxes.
Autoplay - starts your video automatically upon page load
Loop - continuously play the video from start to finish
Muted - mute any audio within the video file
Controls - provide standard video control options (pause/play, mute, full-screen, etc.). If your video is not set to autoplay, you must apply controls or viewers will not be able to press play to watch your video.
Inline - apply a unique style to this individual video
Sizing
Set the dimensions of your image on mobile or desktop views by increasing the height and width. Each number represents 1 pixel, though the default increment is 10 when increasing/decreasing size.
Style
Add an Image Border or colored overlay to your image under the Style dropdown.
Use the checkboxes to set a border for the top, bottom, left, or right side of your image. Use the color dropdown to choose from your pre-set brand colors. (You can change these color defaults the Design → Colors section of the sidebar menu.)
Specify the border thickness in pixels. The border will appear on the inside of the image so the element does not exceed the sizing set previously.
Set the Image Overlay by typing a 6-digit alphanumeric hex code, or by clicking the color picker box. Specify the opacity of the overlay, from 1% (transparent) to 100% (opaque).
Link
If you want your image to link to a separate URL or page section, insert that link in the Image Link textbox.
Spacing
Control the element spacing by adjusting the padding or margin.
Padding refers to the space between the element and the container size. For example, if you have an image size set to 100 x 200 pixels and you add 10 pixels of padding on each side, your image will appear as an 80 x 180 pixel image.
Margin refers to the space outside the container size. If you have a 100 x 200 pixel image and you add 10 pixels of margin to each side, your resulting image will still be 100 x 200 pixels, but it will be an extra 10 pixels away from the closest element.
You can edit both the padding and margins individually for mobile, tablet, and desktop views. Adjust the top, bottom, left, and right side by incrementing numerically. The default interval is 10 pixels.
Advanced
Use the advanced section to specify an Image Class or create a parallax scrolling effect on your image.