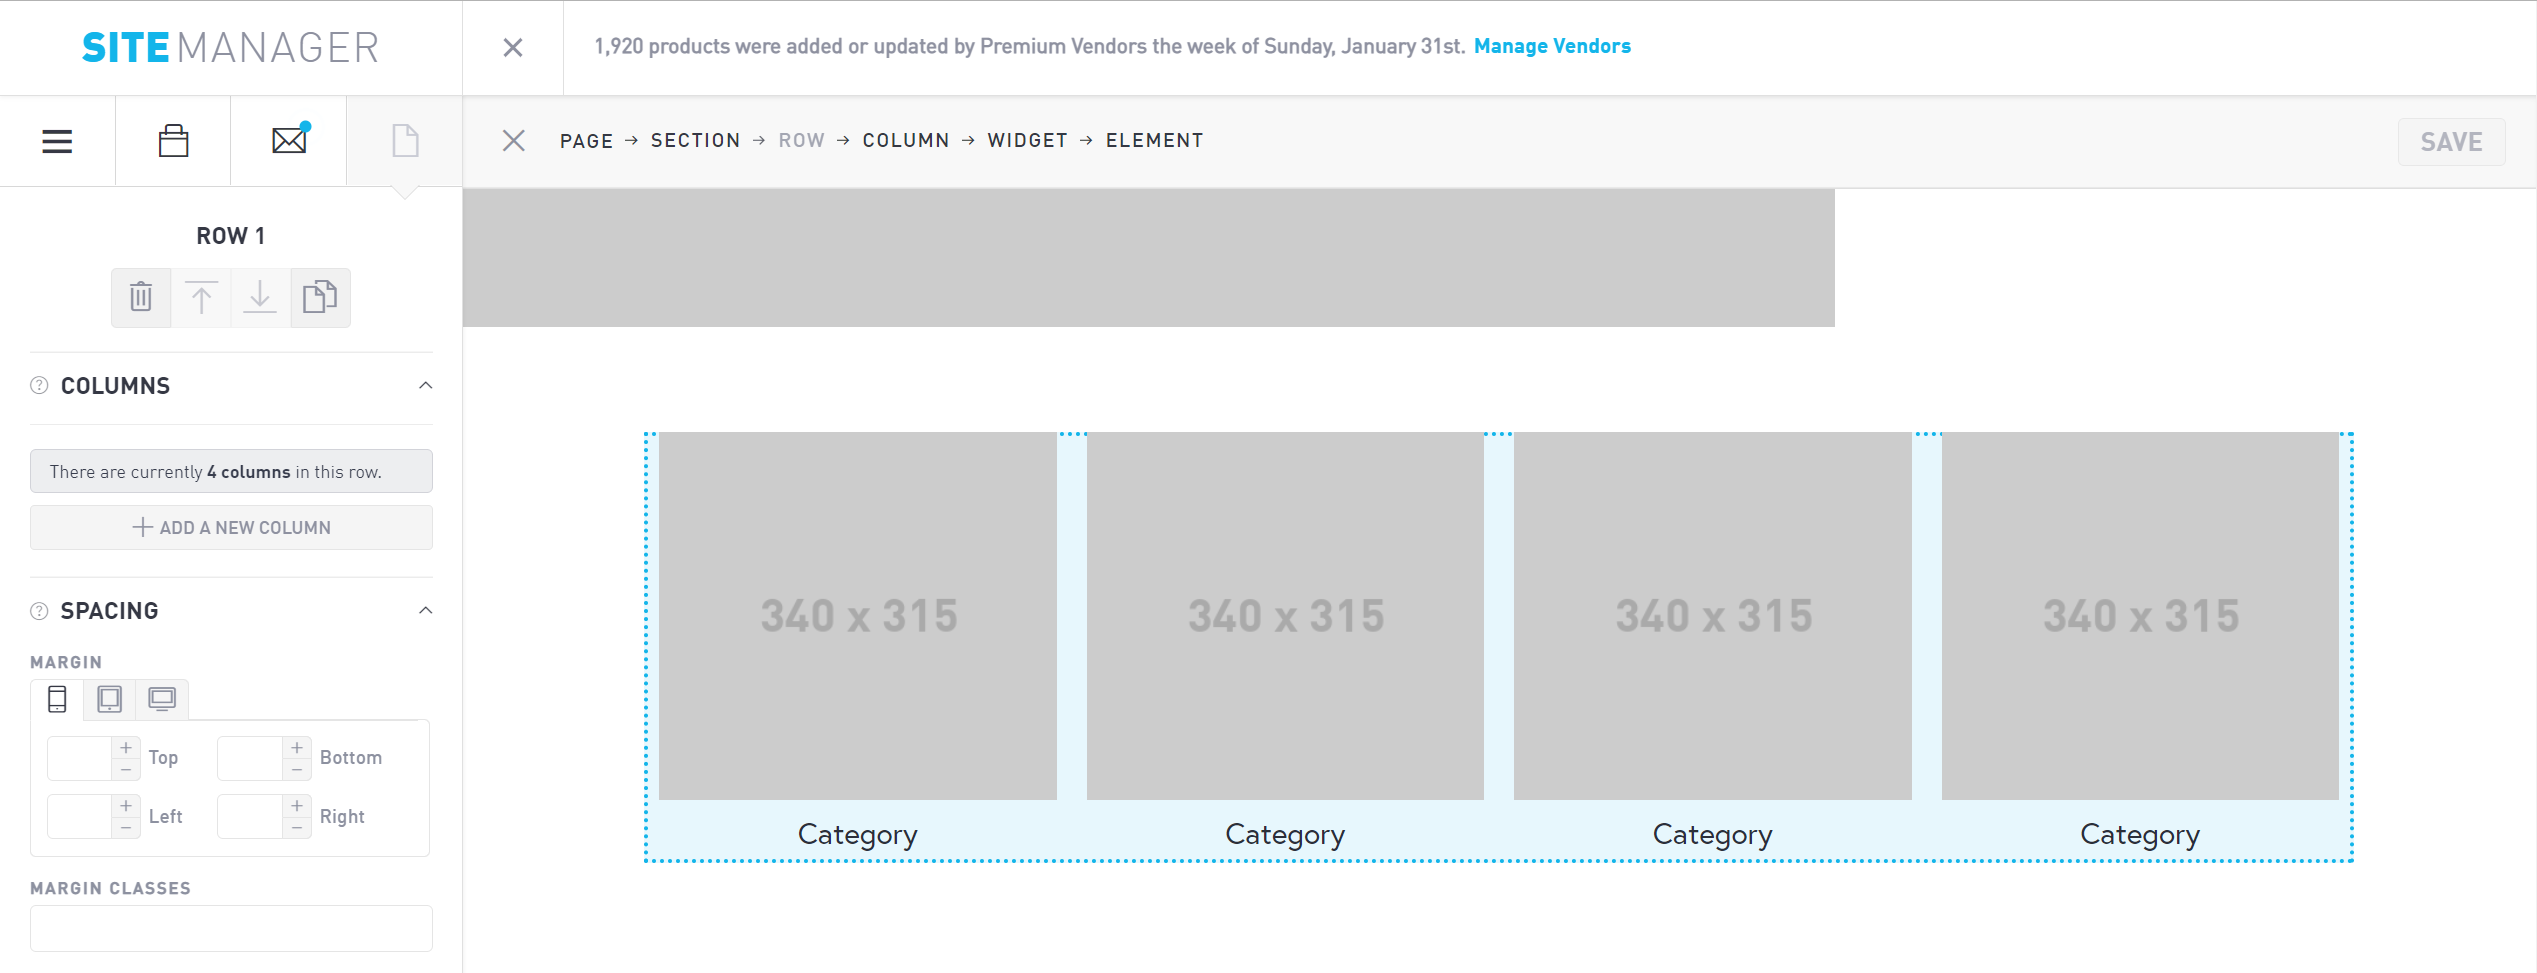
Rows Level
Of all the elements in PageBuilder, Rows are the ones you will likely end up using the least. Rows are the horizontal containers that you fill up with columns, widgets, and elements. Rows stack inside sections and are very similar to sections in their functionality. Unless you are an advanced user, we recommend adding new sections instead of incrementing rows when you are building your own pages.
Add New Rows
To add more rows, you can go into Section → Advanced and choose Add a new row.
Another way to add more rows is to duplicate the row you currently have by selecting the Copy icon in your sidebar when you are inside of a row.

Add New Columns
Within the Row sidebar, you can control the number of columns in each row. Select Add a new column to create another column. You can then edit this column inside
Spacing
Control the row spacing by adjusting the row margin. You can edit the margins individually for mobile, tablet, and desktop views. Adjust the top, bottom, left, and right side margins by incrementing numerically. The default interval is 10 pixels.
Border
Specify the border on either the top or bottom of the row. Choose your border color from the dropdown menu. The colors are based off of your preset colors in Design → Colors. Change the border width by incrementing the box that says “Pixels.” Unlike margins and padding that increase by increments of 10, the border is incremented in single pixels.
Advanced Row Settings
In the advanced row settings, you can specify a fixed width for your row on tablet and desktop views. Set a fixed width for each row in pixels by toggling Force Row Sizing to “On.” This will enable you to set a forced height and width for your row. By default, Force Row Sizing is set to “Off.” Unless you are an advanced user, we recommend keeping this set to off.
