
Blog
In the main menu, select Content > Blog to view the Manage Blog page. Here, you can add, edit, duplicate, and remove blog articles for use on the homepage of your website. Learn how to do these tasks in the sections below.
Post a Blog Article
Select the Add button at the top of the page to display the Post a Blog page. Select Add Cover Image to display the Manage My Files popup, from which you choose or upload an image for this blog post. Browse the folders such as the Image Library and Brand Assets.
Select the Add Selected button to add the image to your blog post and return to the Post a Blog page.
Back on the Post a Blog page, enter a Title and notice that the Post URL is automatically created. Select the small calendar icon for Date Posted and choose the day on which you want to publish this blog post.
Changing the Author
To change the author of the blog post, select the the dropdown and then select the author’s name you wish to switch to.
If the author you wish to credit is not available in the dropdown, it is because they have not yet been set up as an admin in your website. To do this, navigate to Settings > Admin Permissions and add the author as an admin with blog posting capabilities.
Posting Your Blog
In the HTML Content editor, add text, and use the toolbar buttons to apply simple formatting. Select the Add Post button to publish your blog article.
The new blog post will appear in the Manage Blog list.
AI Blog Writing
Punchmark’s blog is integrated with ChatGPT for AI assisted blog writing. There are two methods to using AI to write quick and effective blog posts.
Blog writing from the SiteManager page
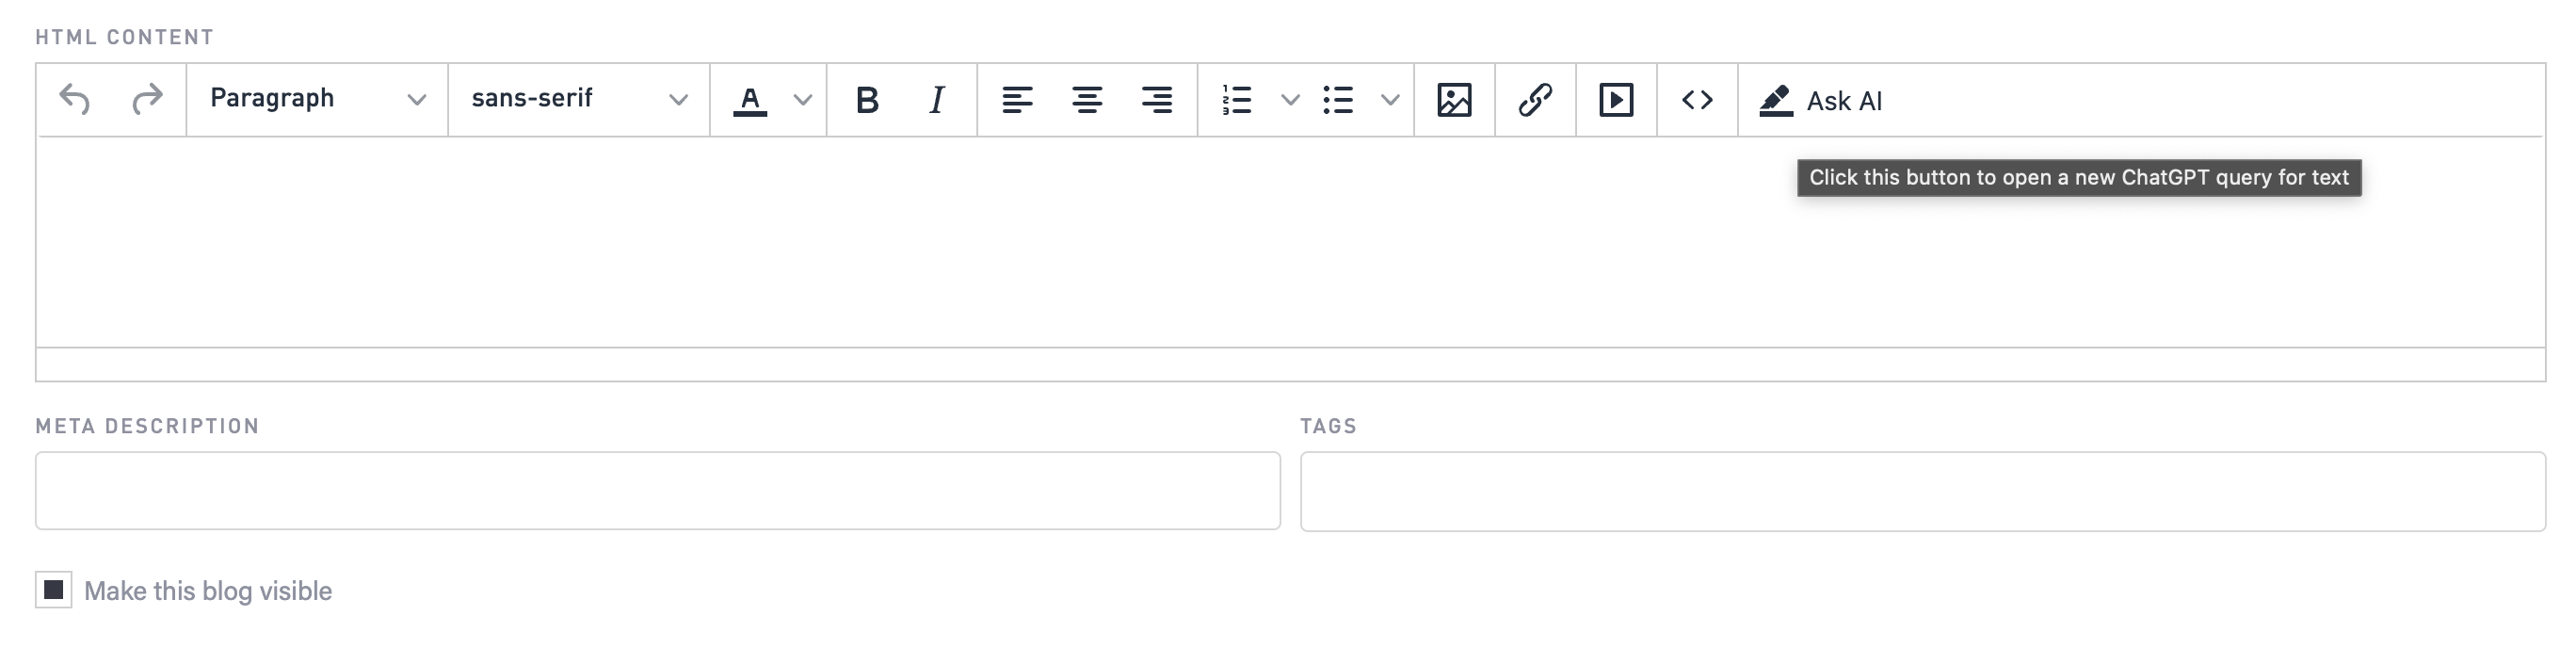
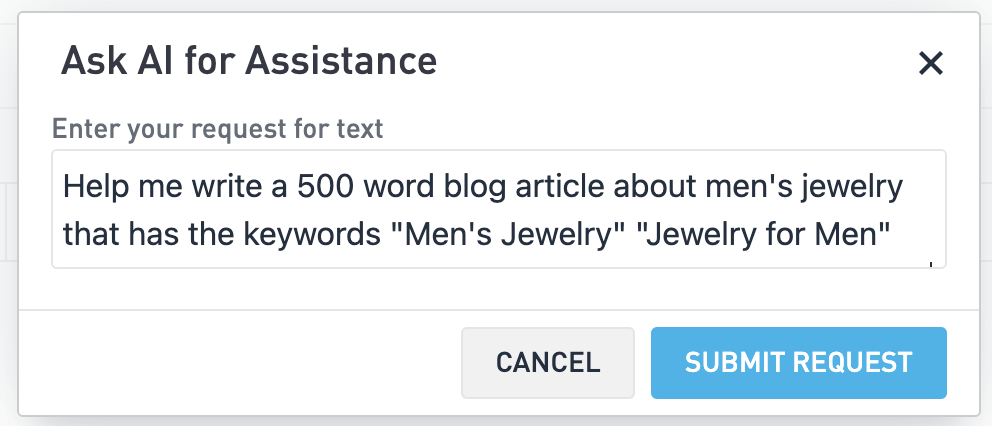
Start to write a blog article in the editor. Select the “Ask AI” button and then fill out your prompt. Remember to be descriptive.
Blog writing from the Front End

View your new blog article from the front end by selecting “Preview Post” and then selecting into the text field. In the tooltip you’ll find the Ask AI tool. Select the “Ask AI” button and then fill out your prompt. Remember to be descriptive.
Edit a Blog Post
On the Manage Blog page, locate the blog post that you want to edit and select the Edit button. Make changes to any aspect of the post, and then select the Preview Post button to open a new browser tab that will present the post as it will appear to your visitors.
Select the Save button to commit your changes and return to the Manage Blog page.
Search for a Blog Post
Enter one or more terms in the search field in the upper-right corner of the page. The list will filter down to the blog post that match your search.
Delete a Blog Post
Locate a blog post that you want to delete and select the Delete button, then select OK in the popup window to confirm that you want to remove the page.
Remove Multiple Blog Posts
Locate two or more blog posts that you want to remove, check the box for each one, and then select the Remove button. select OK in the popup window to confirm that you want to remove the posts.