Jewelry
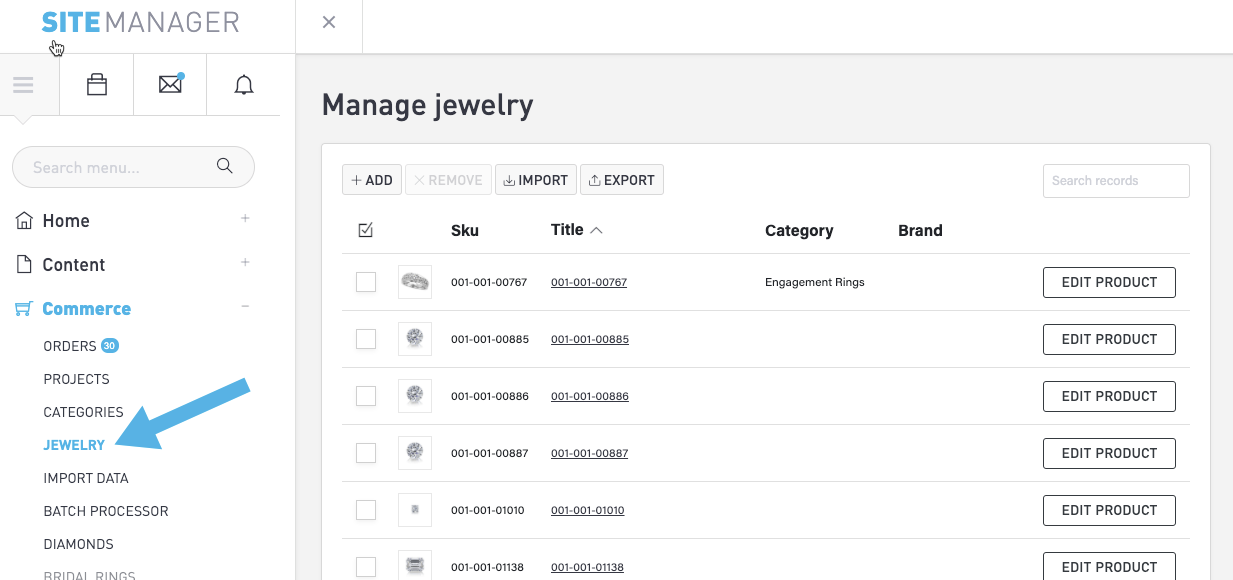
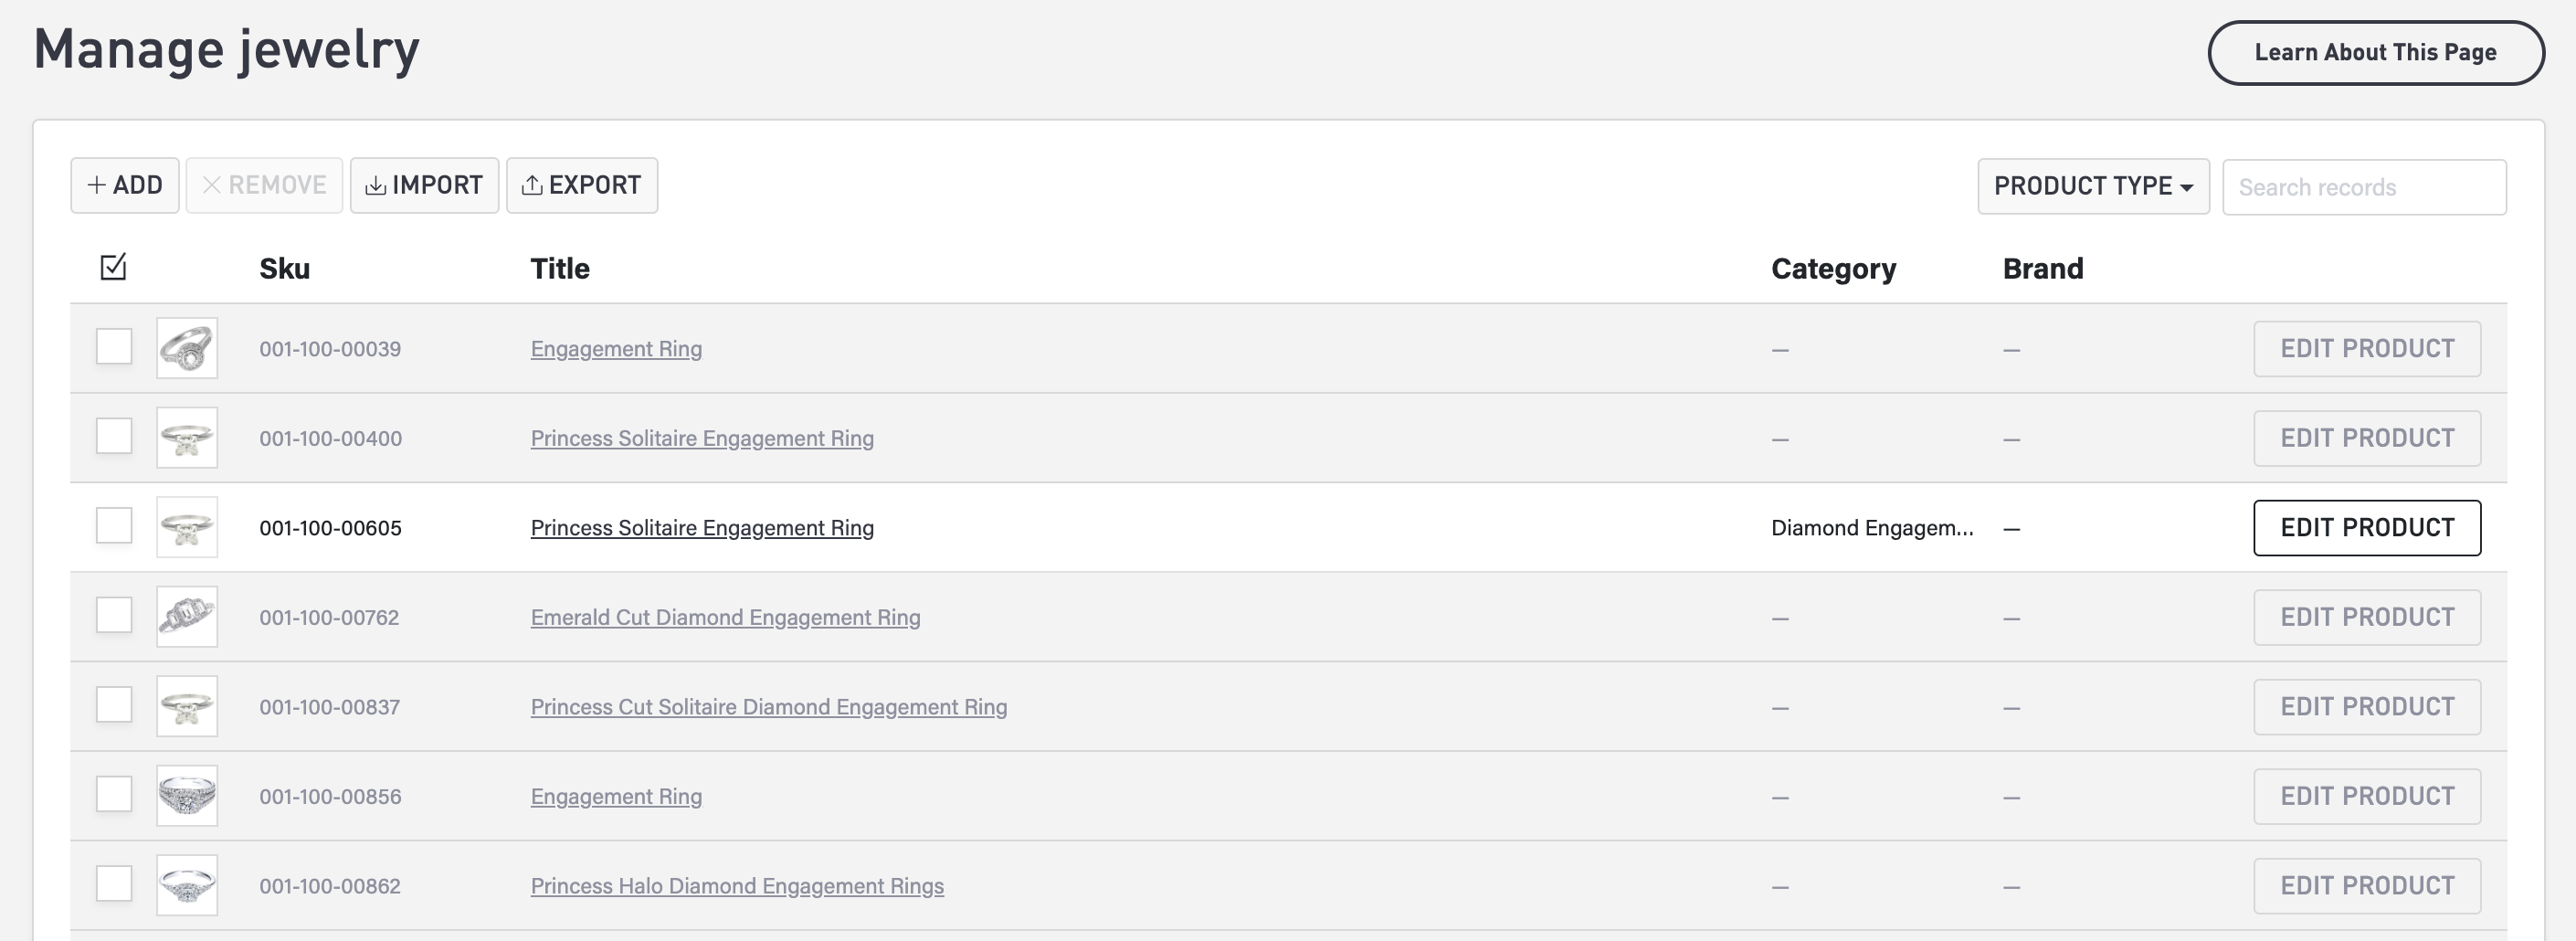
Manage your jewelry product list in the Commerce module. Select Commerce > Jewelry in the menu to view your list of jewelry products. Select a column heading to change the sorting of the list.
On the Manage Jewelry page, you can:
Search for Products
The search field is in the upper-right corner of the page. Enter one or more search terms and hit the Enter key.
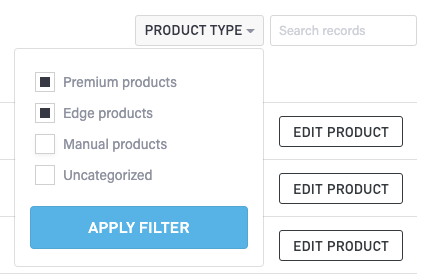
Filter the Product List
Select the Product Type drop-down and uncheck the boxes for the types that you don’t want to appear in the list.
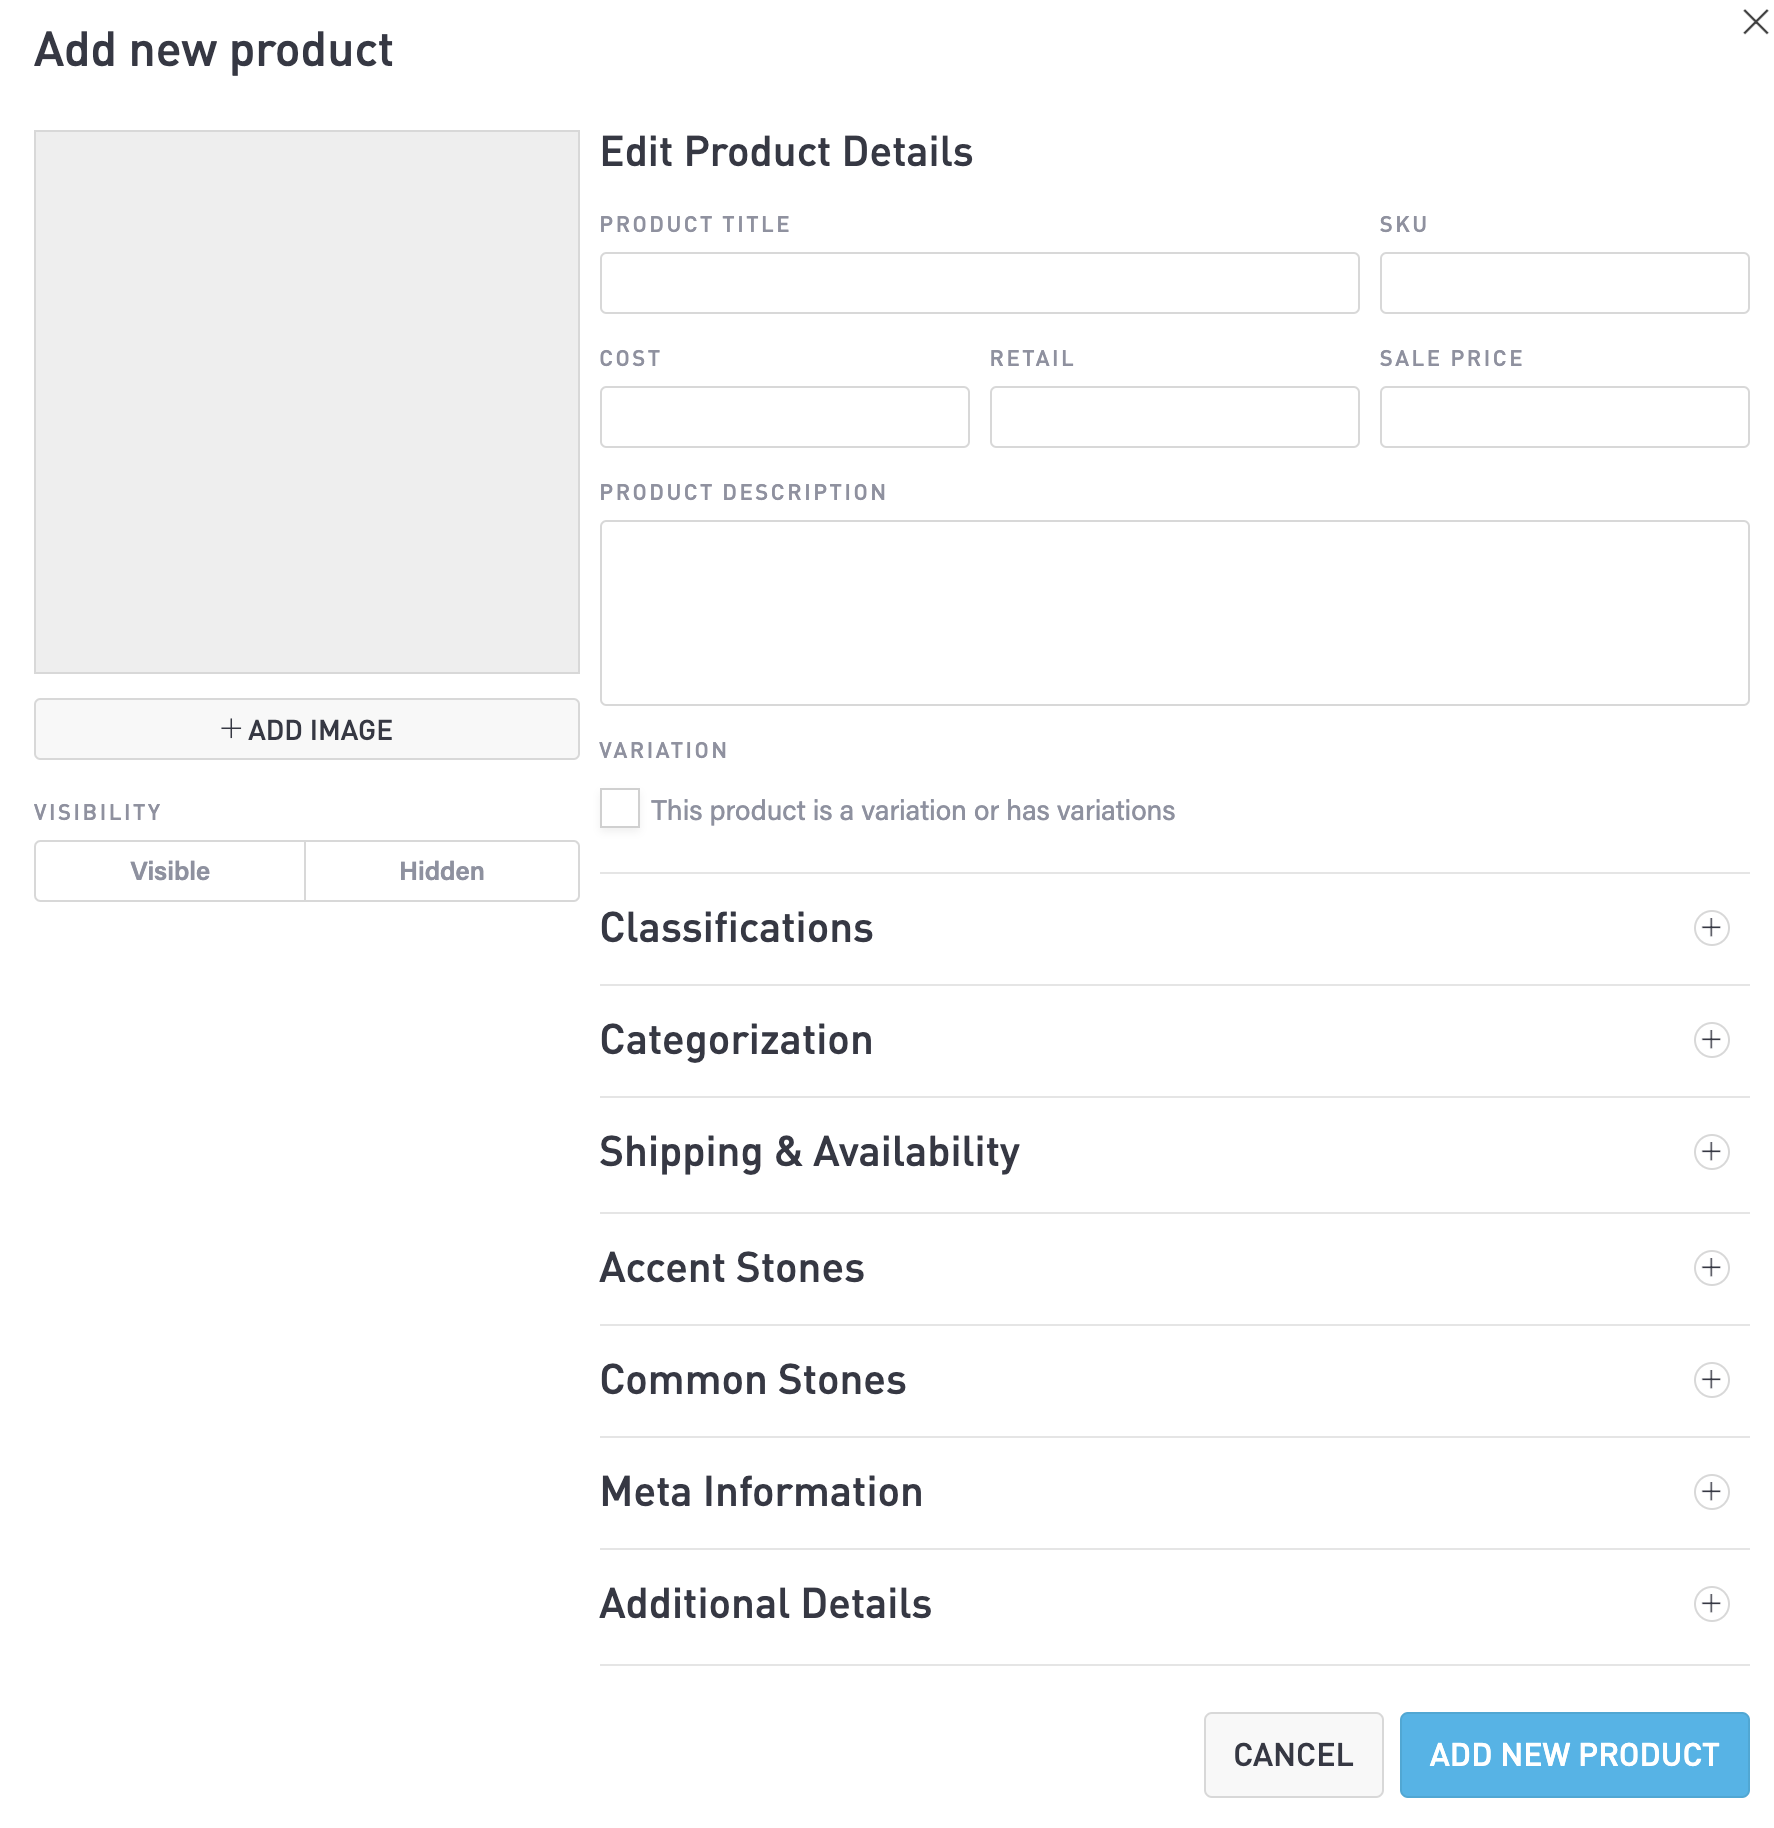
Add a Product
Select the Add button to display a popup window. Here, you can:
Select the +Add Image button to choose an image file that you have stored on your local computer disk.
Enter product details such as the Title, SKU, Cost, Sale Price, and Description.
Select the Visible or Hidden button control visibility of this product on your website.
Check the Variation box if this product is similar to another product.
Select the + button to expand sections such as Classifications, Categorization, or Shipping & Availability.
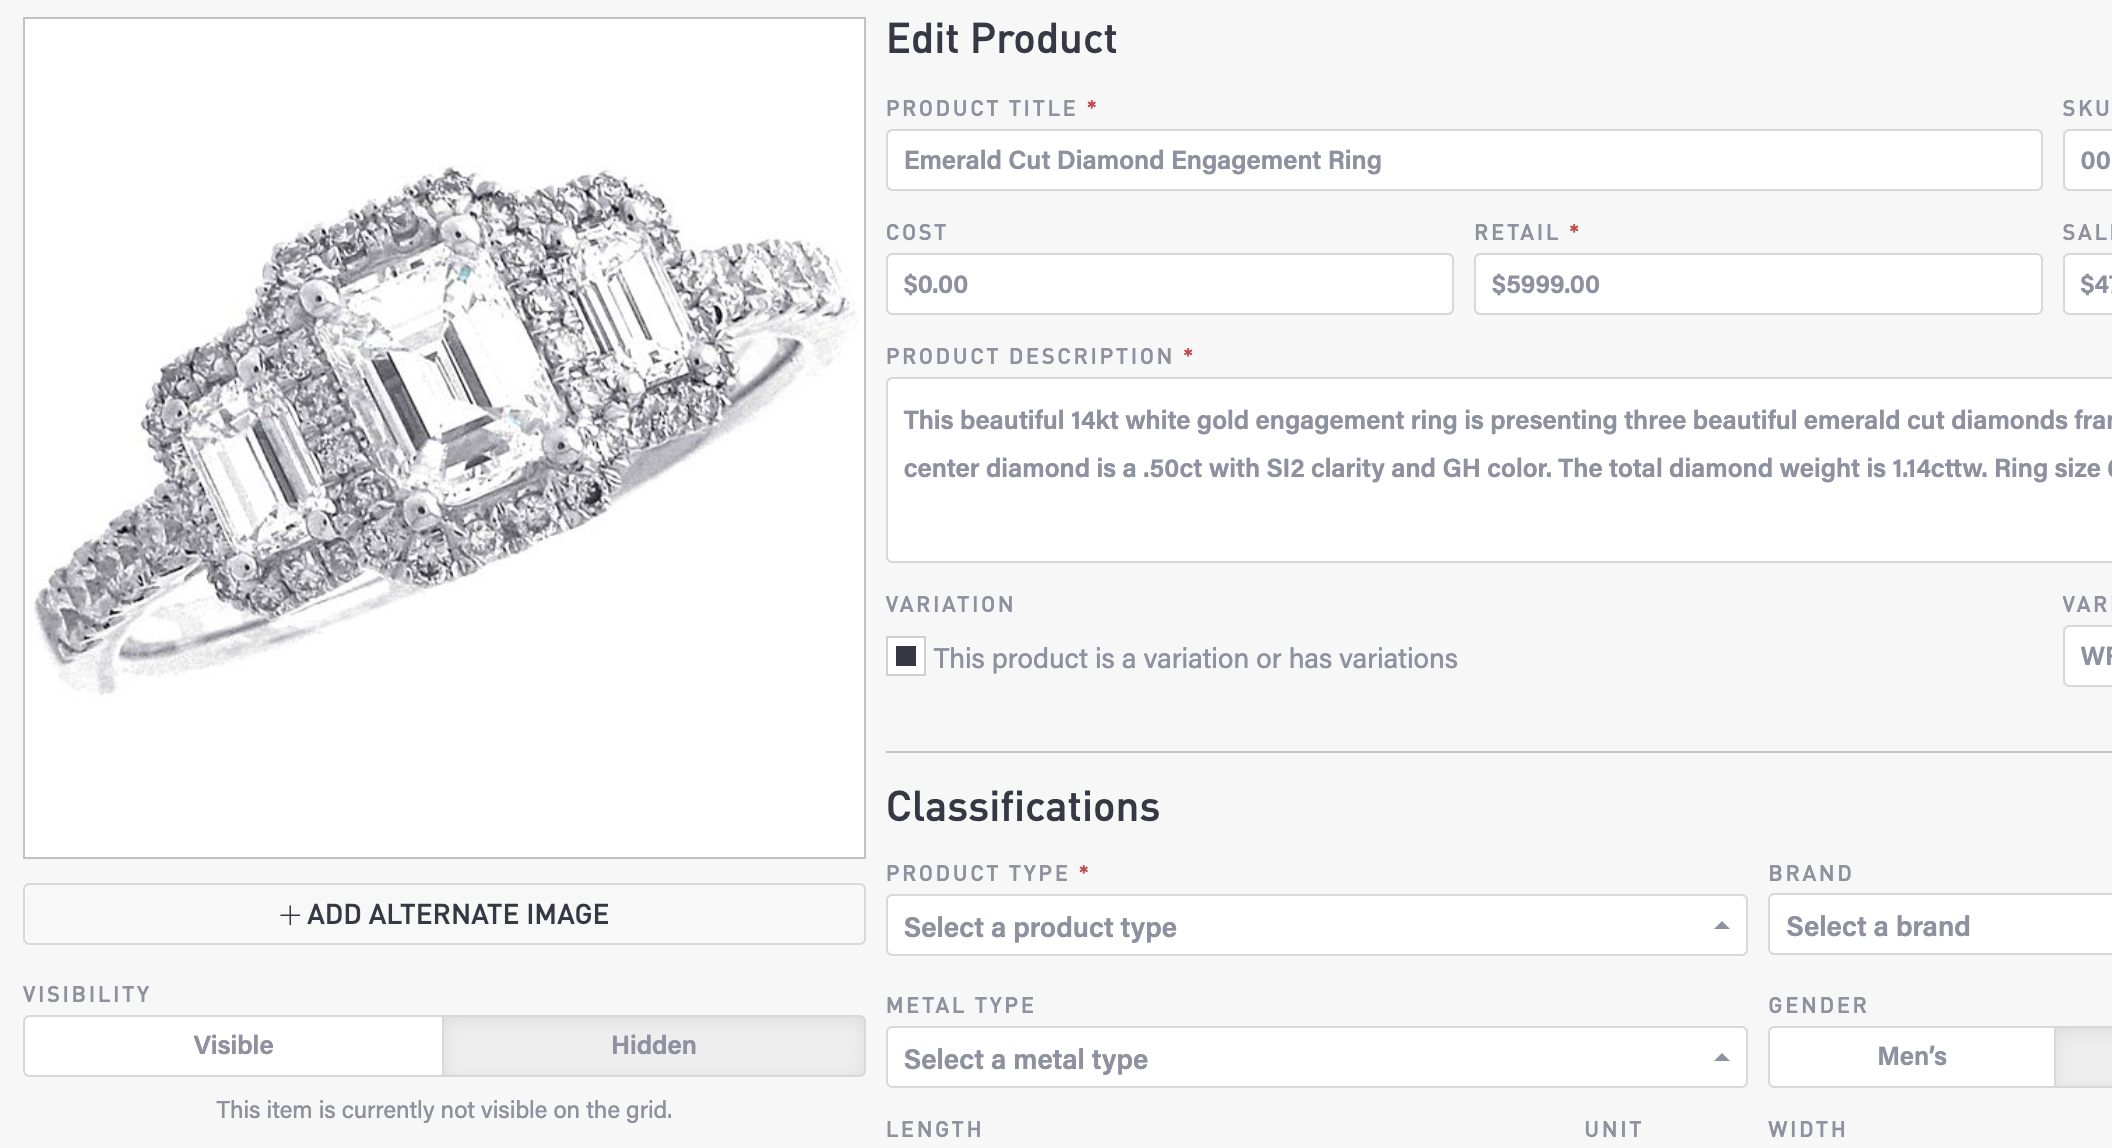
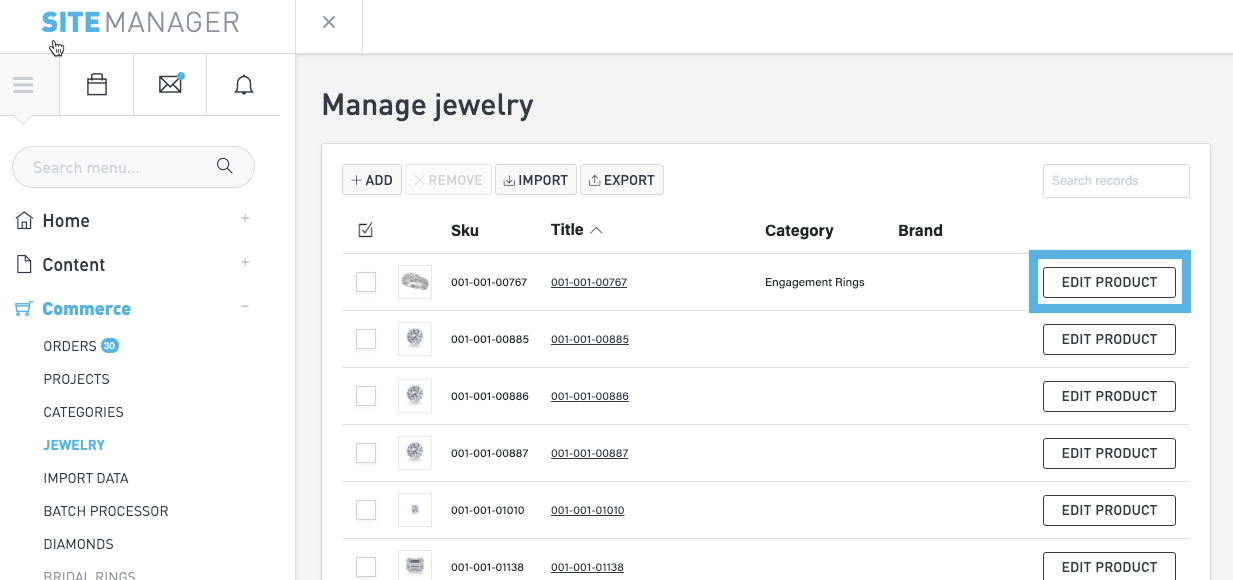
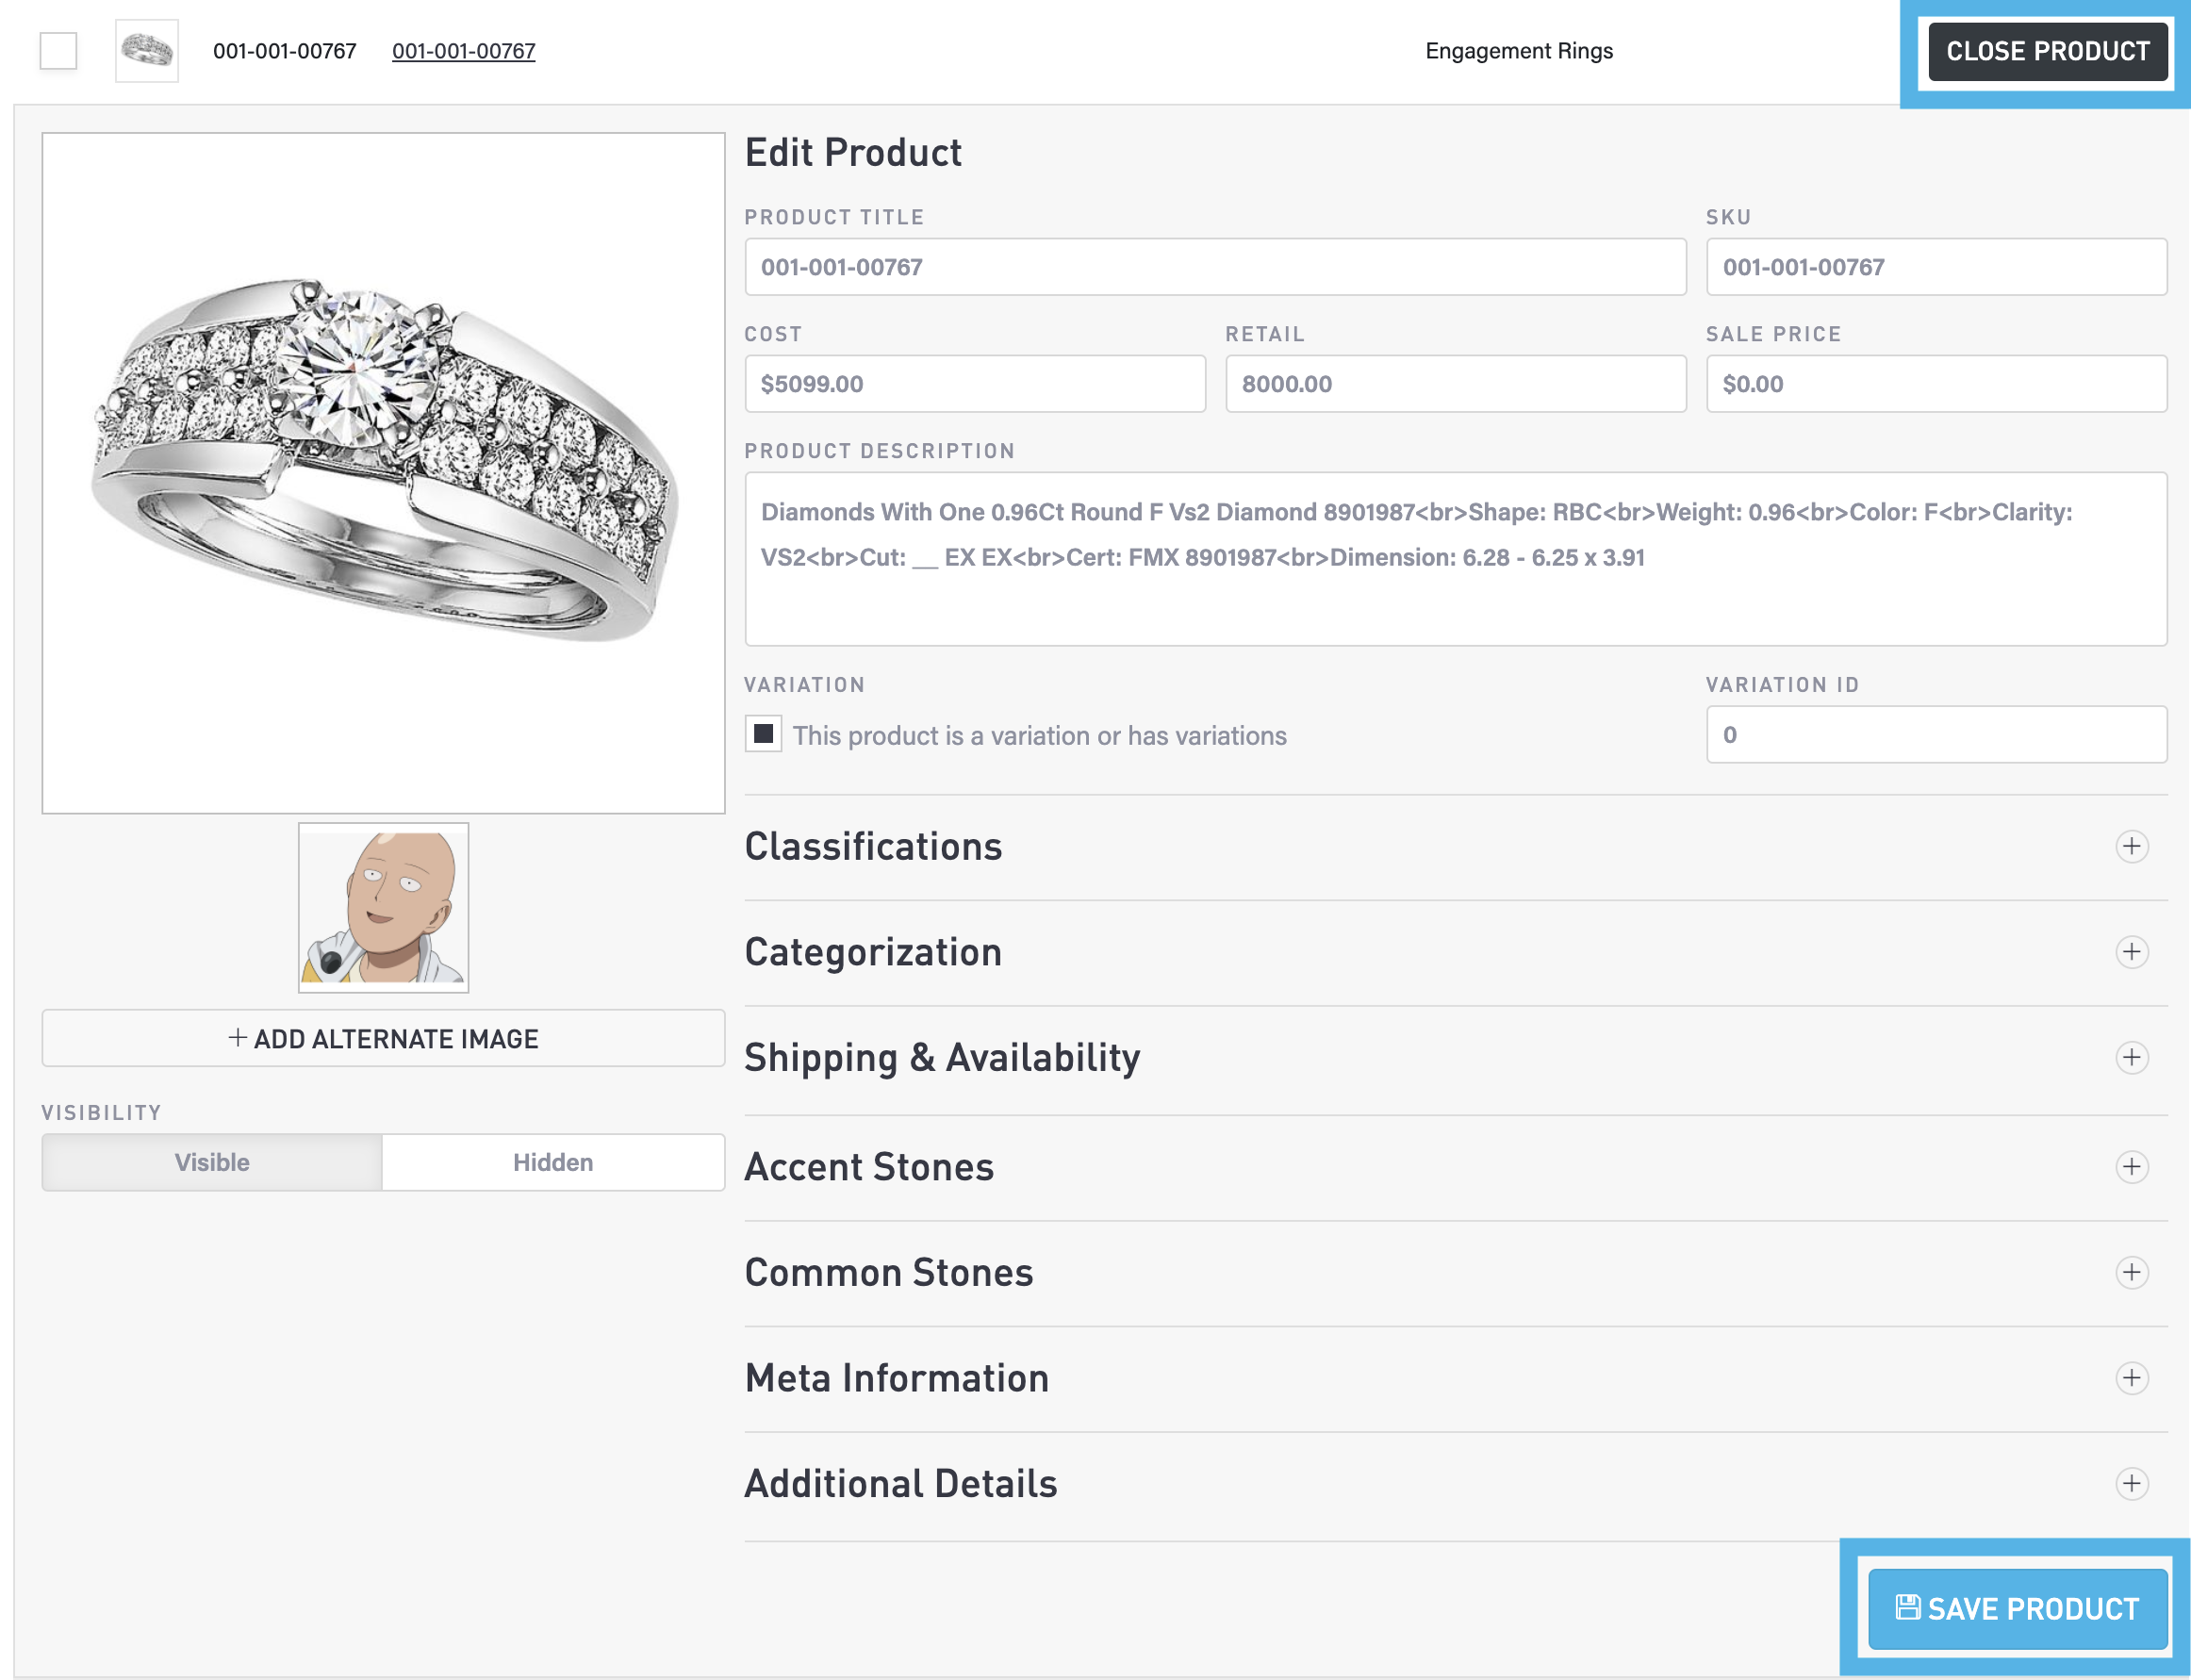
Edit a Product
You can edit any of the products in the list. Select the Edit Product button to display a drop-down panel in which you can edit the details for the product.
NOTE: To import multiple products from a CSV file, see the section below, “Import a CSV file containing product records”.
Select the Save Product button to commit your changes to this product. Select the Close Product button to close the drop-down panel.
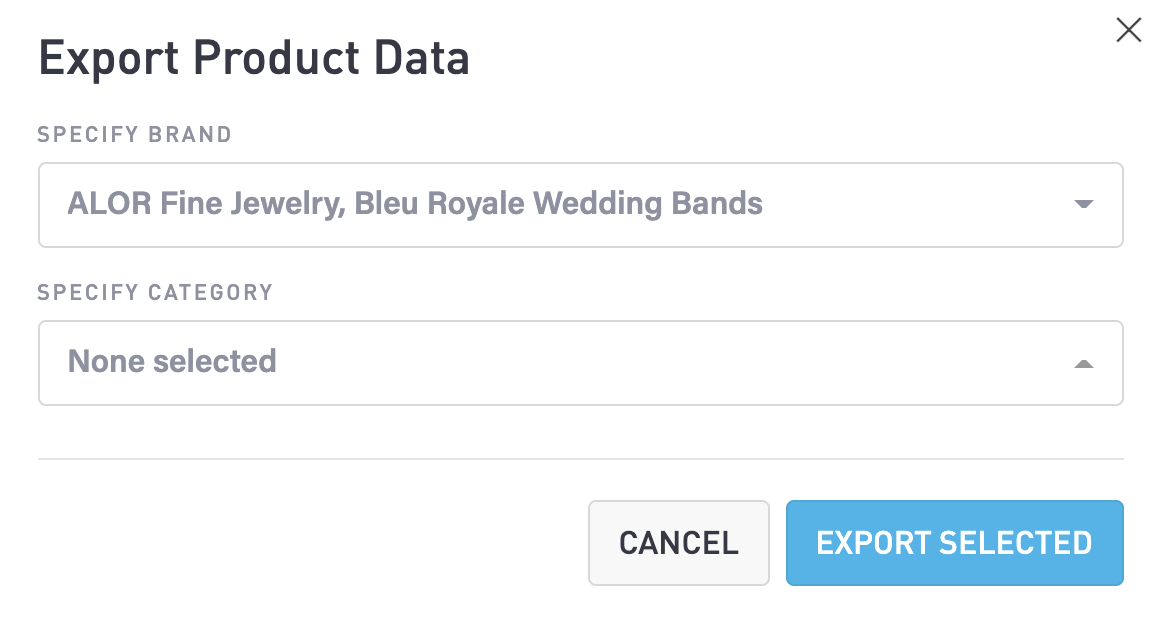
Export the Product List to a CSV File
Select the Export button at the top of the page. After a few moments, a popup window will appear in which you can choose the specific Brands and/or Categories of products that you want to export. In the drop-down lists, you can select to check multiple items. Select the Exported Selected button to export your selected product records to a CSV file.
If you prefer, do not make any selections and simply select the Exported All button to export all of your product records to a CSV file.
Import Product Data
A CSV file typically contains a set of records, each of which is a set of fields that are separated by commas. You can import a CSV file contain a list of product records.
There are two approaches to importing product data, add records to a sample CSV file or export product data to a CSV and edit that file. After editing a CSV file and saving it, you can import your product data. Follow the instructions in the sections below.
Being by selecting the Import button to view the Import Jewelry Products page.
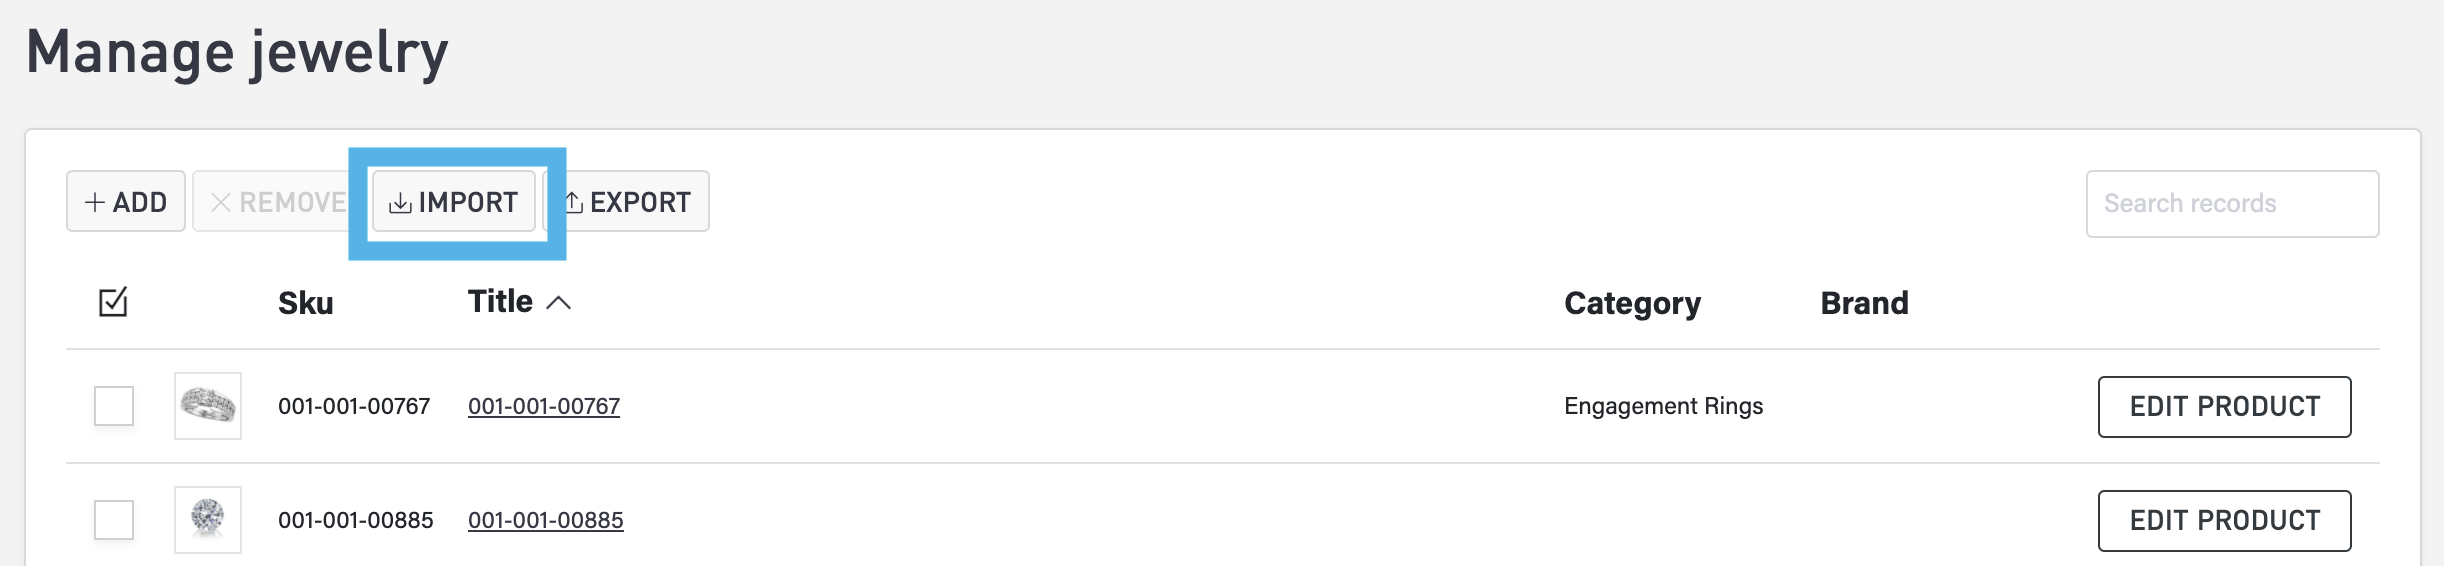
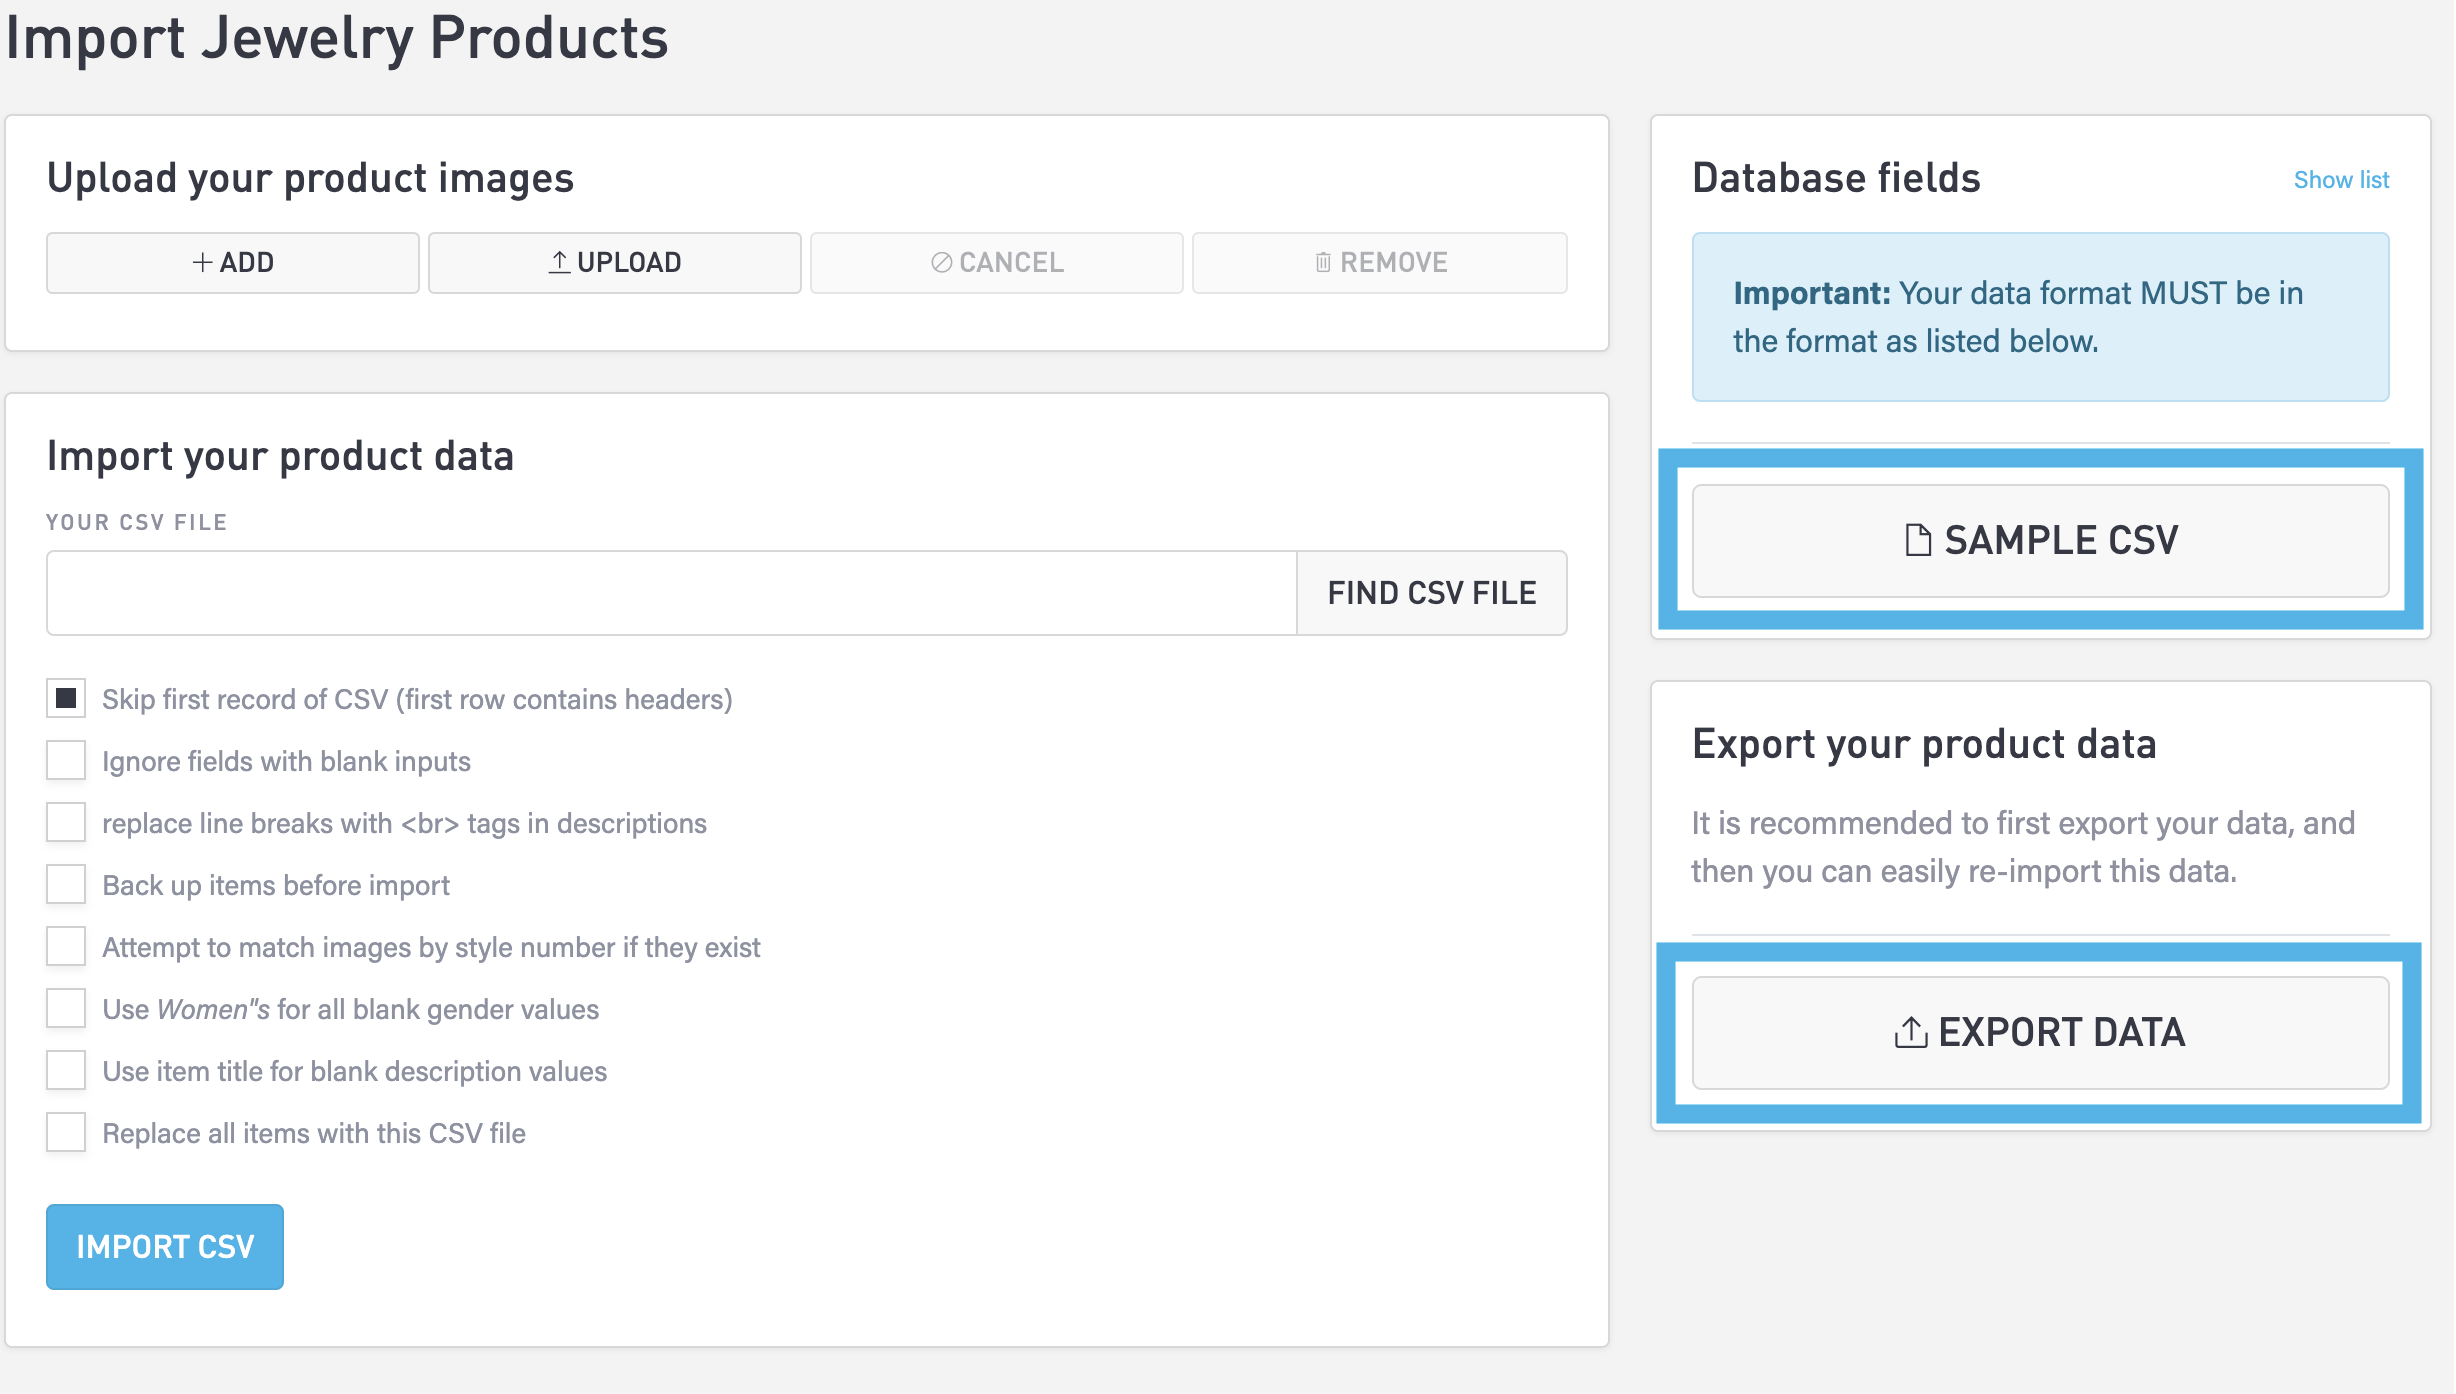
The Import Jewelry Products page will appear. Continue reading below to download a sample CSV, export your product data to a CSV, and import the edited product data CSV file.
This is similar to what is found in Import Data .
Create a New CSV File
Follow these steps to create a new CSV file:
Select the Sample CSV button to download and view the sample CSV file.
Open this file in a spreadsheet application to view the header row and two example rows (records).

Add product records to that file, being careful to enter the data so that it matches the other data in the same column
Remove the two sample records at the top of the file.
Rename the file and save it, preserving the .CSV filename extension.
Export Existing Products to a CSV File
To export all of your existing product data to a CSV file, Select the Export Data button.

Open this file in a spreadsheet application to view all of your product records.

Edit any of the records, being careful to enter the data so that it matches the other data in the same column.
Add product records to that file.
Import the Edited Product Data CSV File
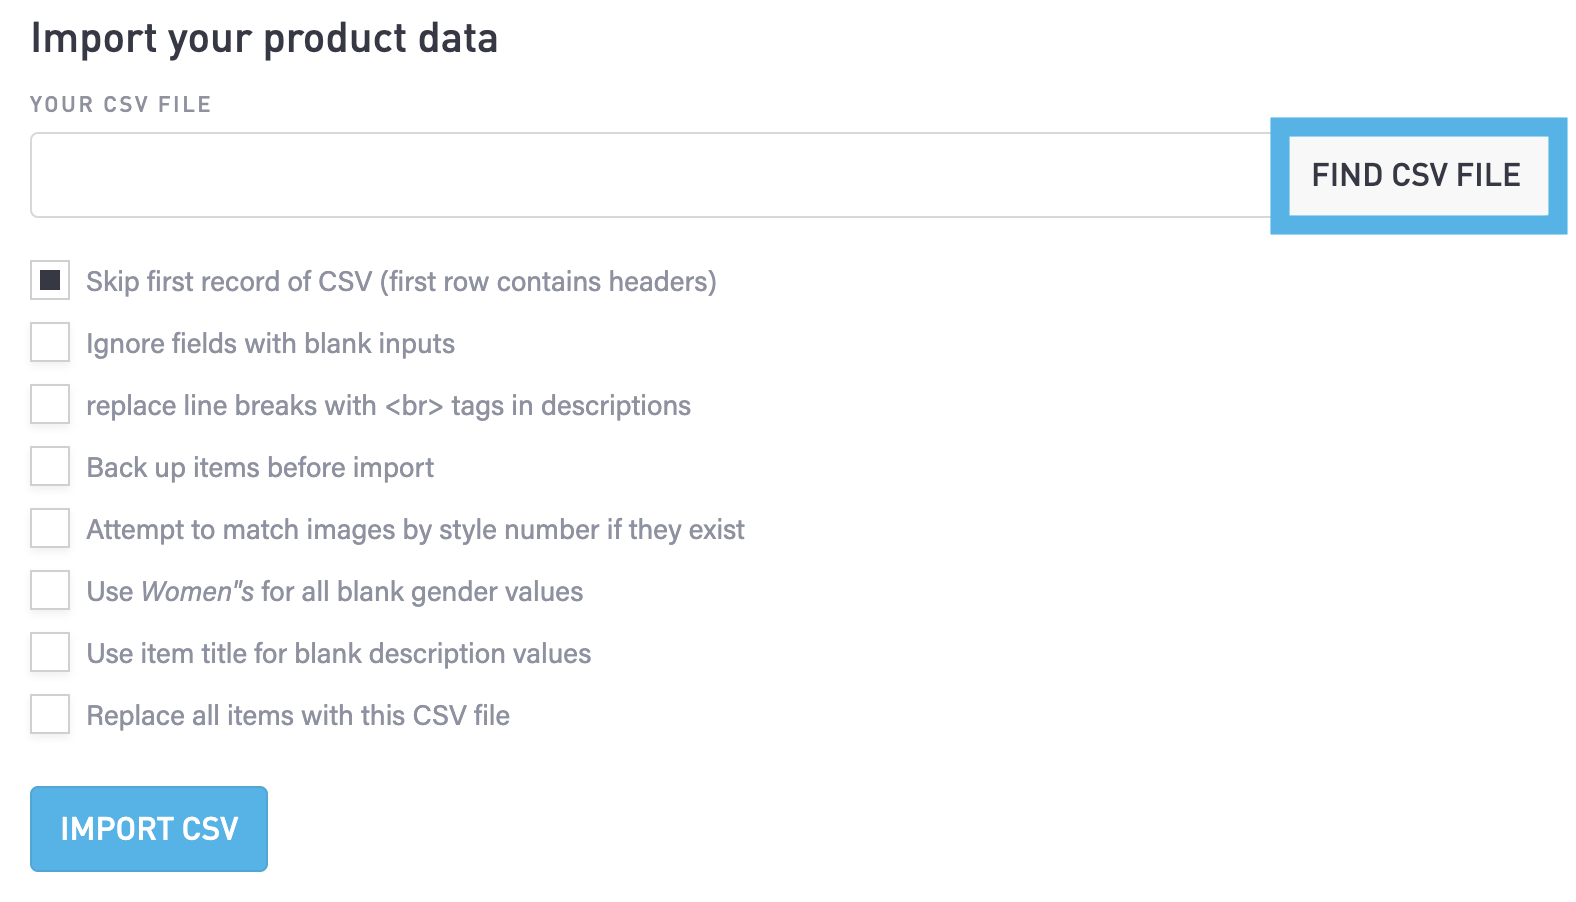
In the Import your product data section, check the boxes to enable the constraints you want to apply when you import the CSV file.
When your CSV file is ready, select the Find CSV File button, locate the file, and select the Open button to upload it. Then, select the Import CSV button to import the contents of the CSV file.
Show Hidden Items
Scroll to the very bottom of the page table, and select “Show hidden items”. This will display your hidden products in the table.

To set an invisible products visible, select Edit Product, then change the Visibility to Visible then save your changes.